October 27, 2007 - Solder up the Jacks
|
|
I bought the PS Engineering PM3000 Intercom system for my RV.
Having wired up the intercom in the Citabria restoration, I knew that the
key to the intercom was understanding the wire diagram thoroughly.
The Citabria's intercom just used plain old AWG22 wire. However, as
I studied the PM3000 wiring diagram, it dawned on me that I would need to
use 3-conductor shielded wire for most of the wiring. And it is
expensive! 50 cents a foot and you need a lot of it, especially if
you put the jacks on the baggage bulkhead like I did.
I started off by wiring the jacks. First I stripped the
plastic covering off about two inches. Tony Bingilus's book had
instructions on how to handle the shielded wire.
|
|

|
|
|
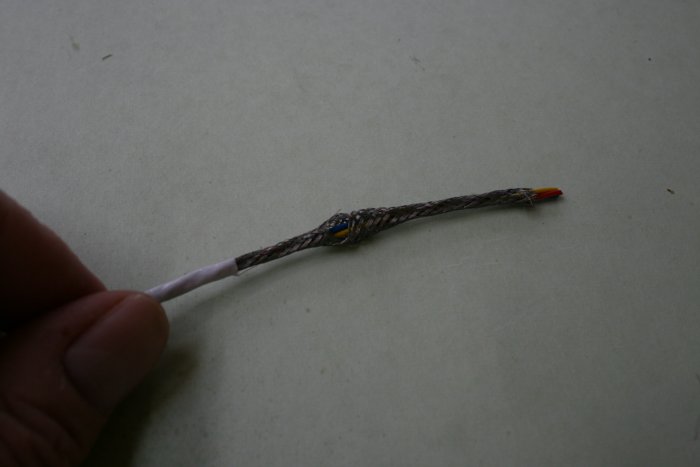
I cut away the plastic, then pushed
the shield toward the plastic so it bulged. Using an awl, I was able
to get each wire out of the gap in the
shield.
|
|
|
|
|
I cut off the
excess shield, then folded the remaining shield over the plastic. |
|
|
|
|
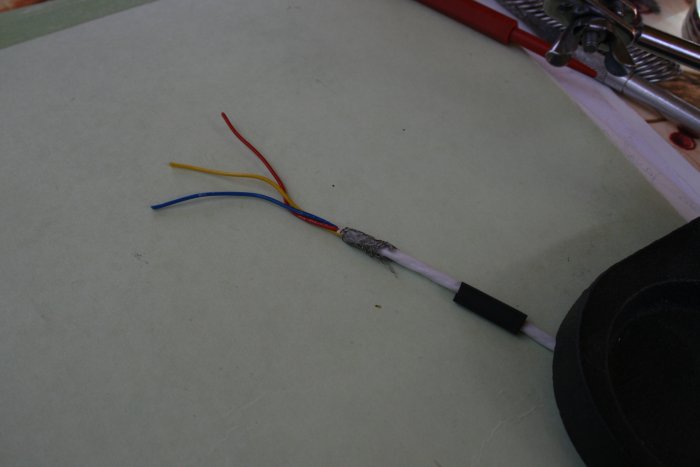
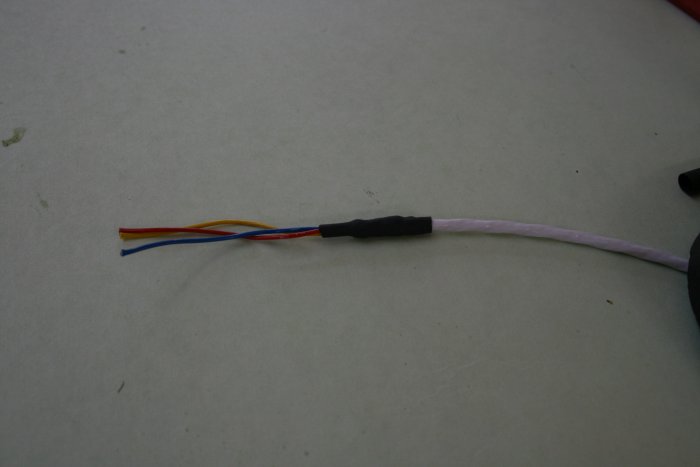
Then I heated some heatshrink over
the folded-back
shield.
|
|
|
|
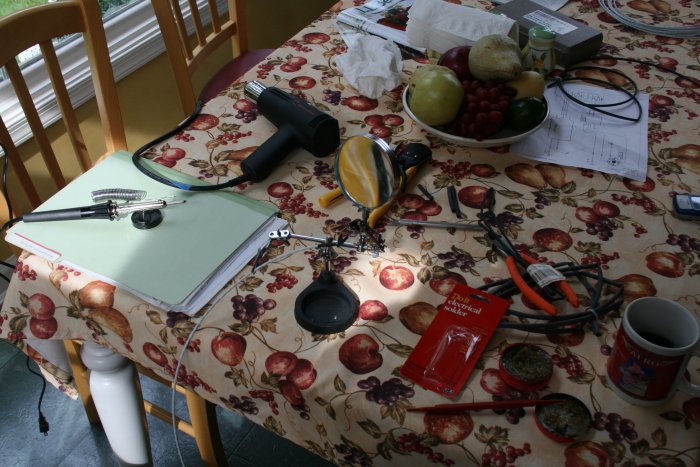
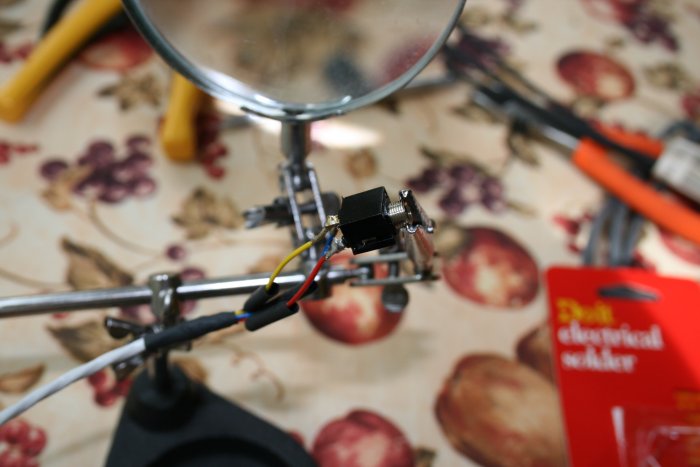
| Now I'm ready to
do some soldering! Got my soldering iron, solder, flux, "helping
hand", wire cutters, stripping tool, heat shrink, heat gun, and wiring
diagram. |
|
|
|
| Here, I'm
soldering the music jack. |
|
|
|
|
One of the jacks
all soldered
up. |
|

|
|
|
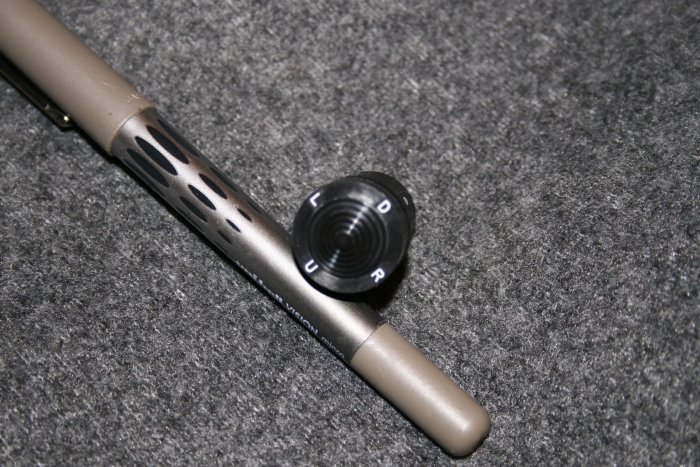
This is the hat switch that goes on
the pilots stick grip for the elevator
trim.
|
|
|
|
|
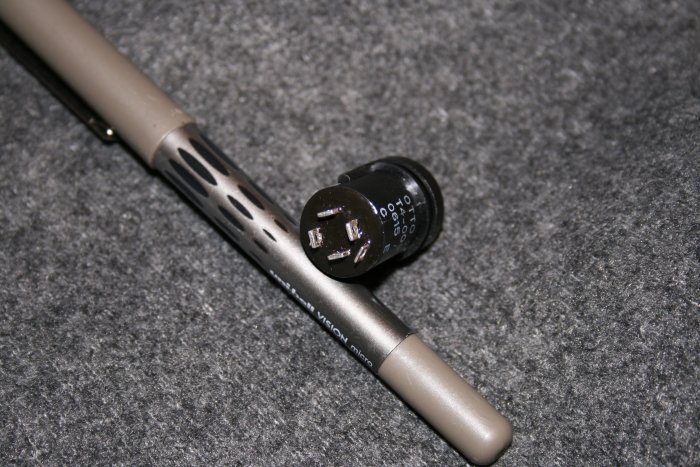
The other end of
the hat
switch. |
|
|
|
|
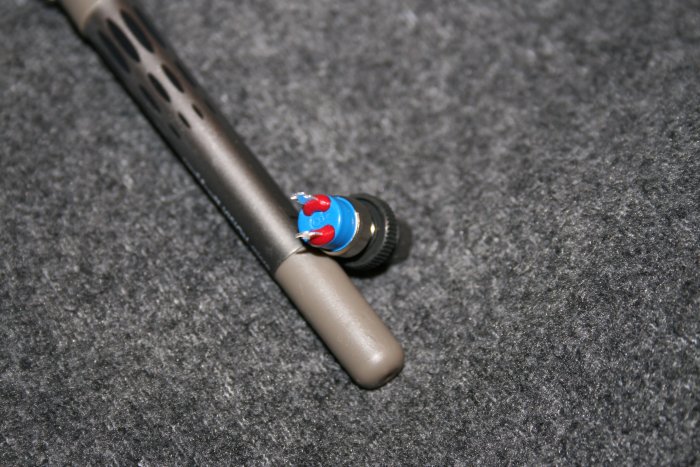
This is the push-to-talk switch for
the stick
grip.
|
|
|
|
| I wanted to
confirm how to wire up the hat switch. I found a diagram on the AeroElectric Connection web
site. |
|

|
|
| All done. |
|

|
|
| The push-to-talk
switch. |
|

|
|
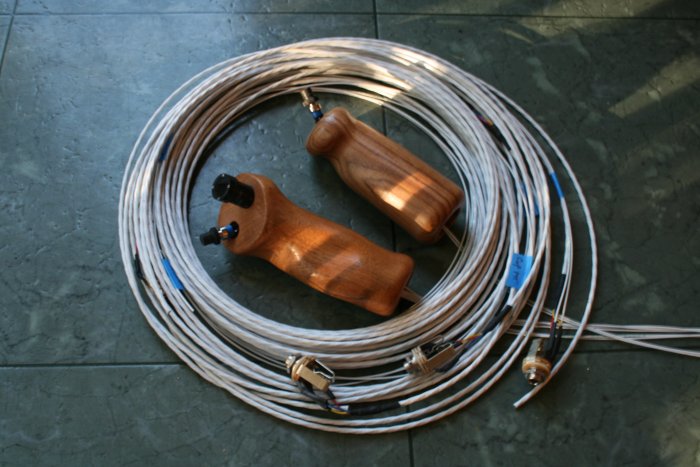
| All done. I
wired up the two Mic, two Phone and one music jack. The Mic jacks
also had the push-to-talk wires soldered to them. All this shielded
wire means weight, but you gotta have it, I guess. |
|
|
|
| |
|
|
|
|
|
|
|