Notching Steel Tube Ends
|
|
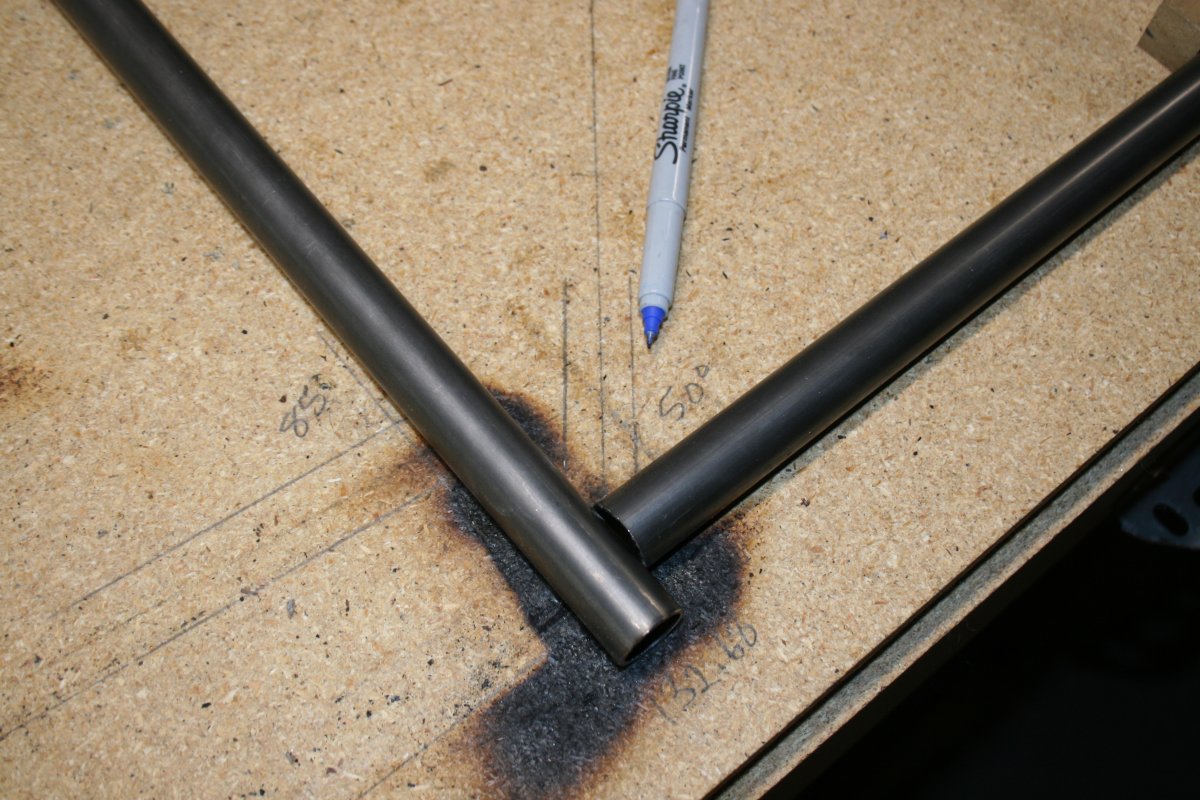
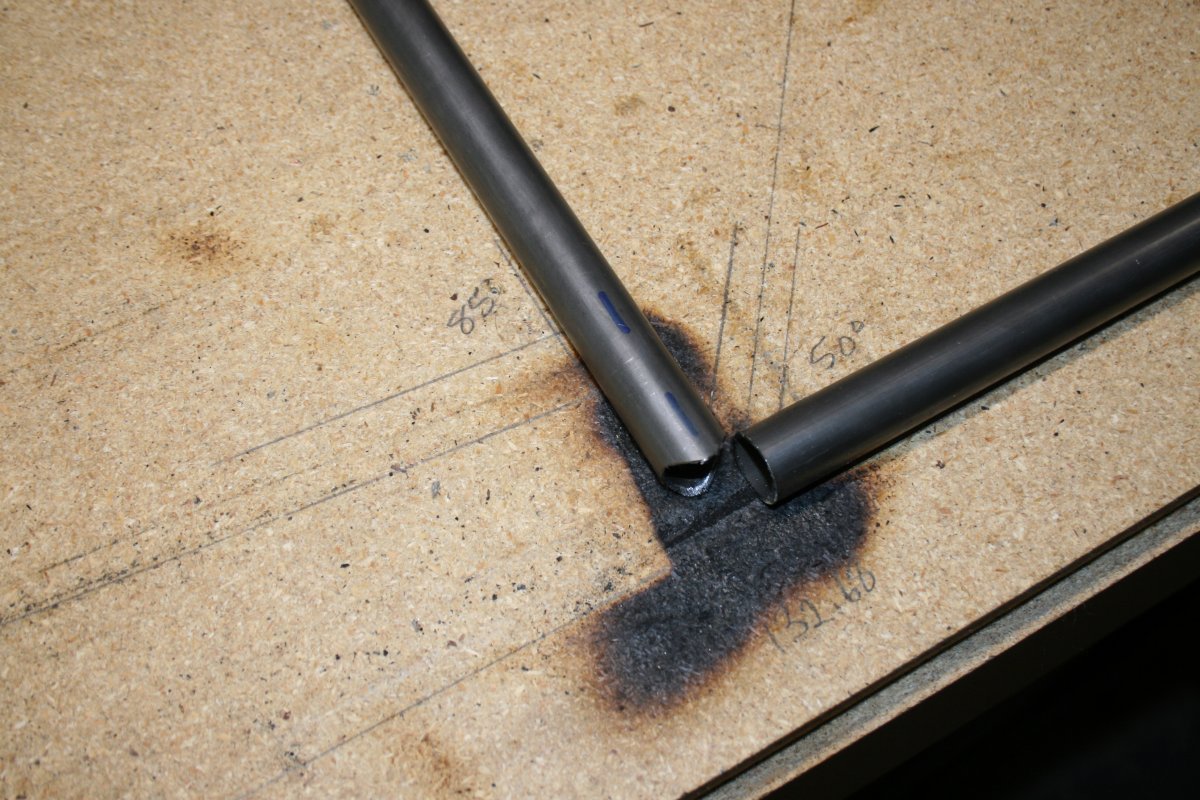
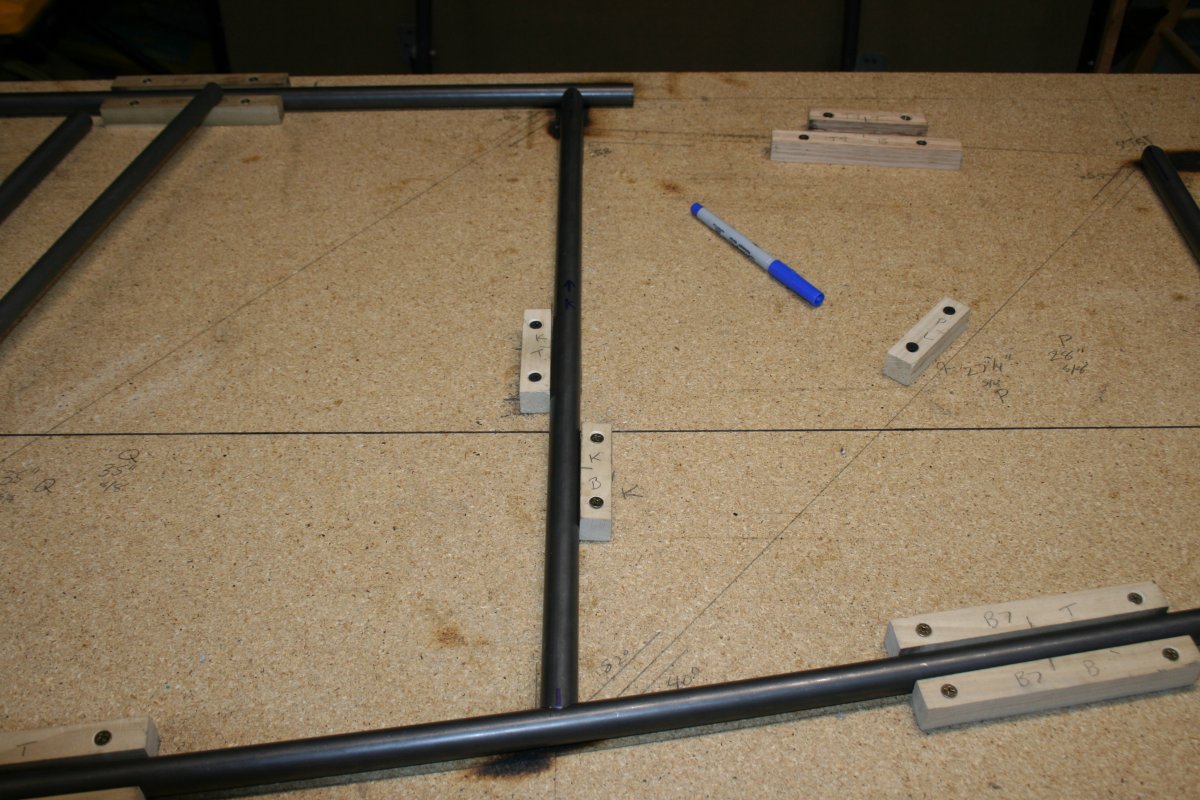
OK, next step is to notch the cross-member and diagonal ends. I knew this was going to take a long time. Plus its nerve-wracking too because if you notch too much, and the tube is too short, then you have to start over on a new piece of tube. Of course, you work from longest to shortest so that if you mess up a long piece, you can use it for the next shorter crossmember or diagonal.
Here, I have to notch the 3/4" diameter crossmember piece on the left so it will butt nicely against the 3/4" diameter longeron on the right.
|
 |
|
|
| There, that wasn't hard, was it? How did I do that? |
 |
|
|
|
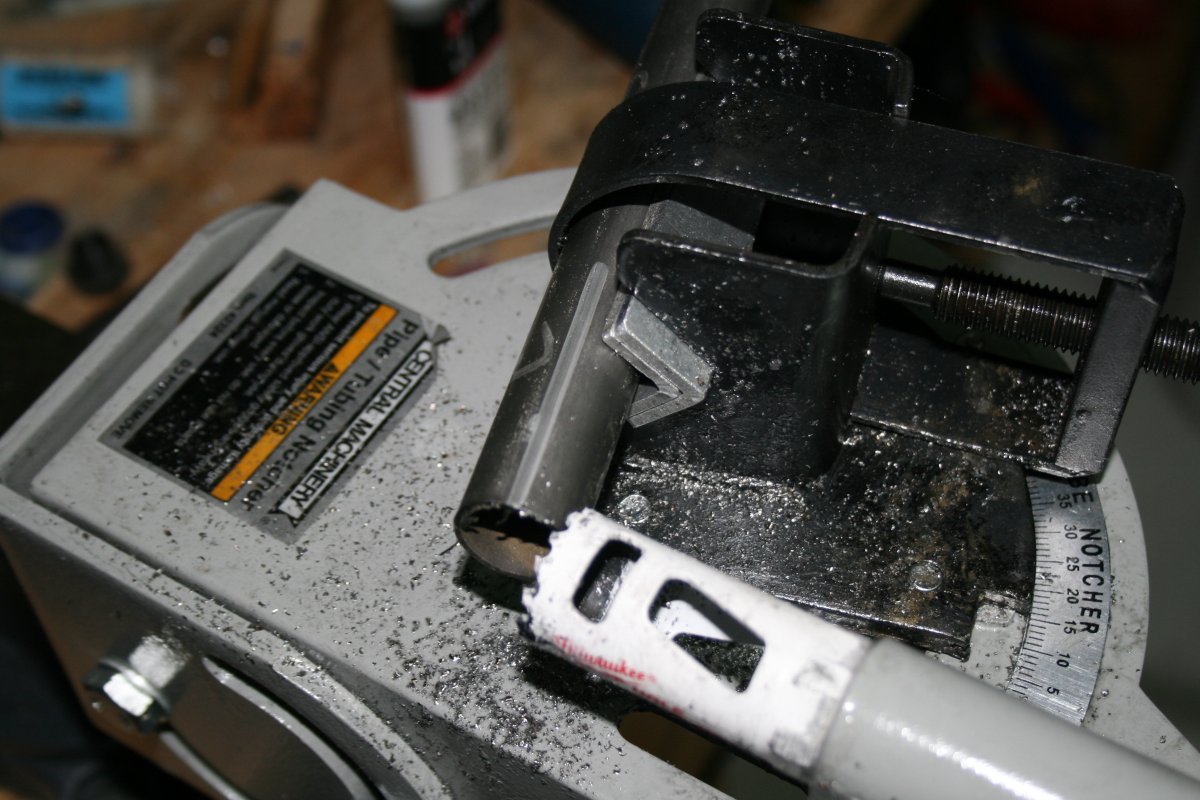
Well, my main tool was a $45 tube notching tool from Harbor Freight. I had to shim the main black part on the right a little so that the hole saw bit would be lined up against the steel tube, but otherwise, it worked pretty well.
You can also adjust the angle up to 60 degrees.
|
 |
|
|
| This crossmember was perpendicular to the longeron so I had zero degrees set in. |
 |
|
|
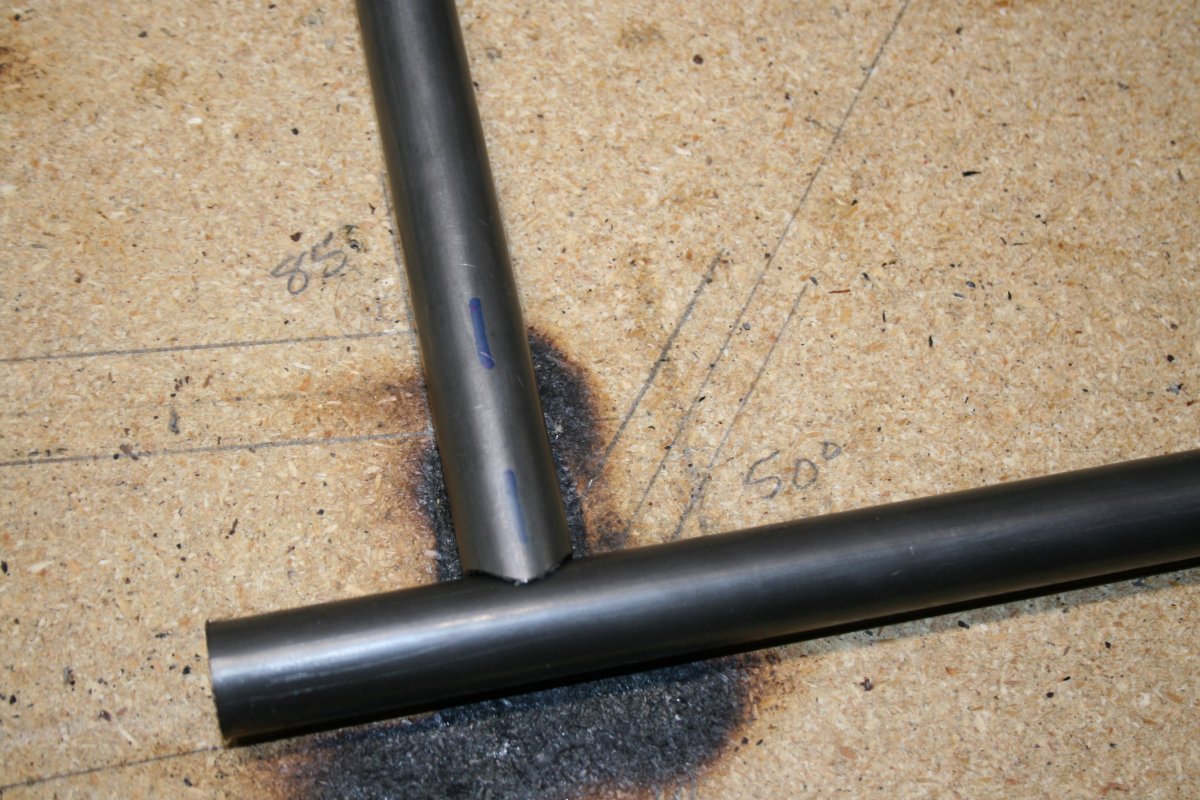
| I used a 3/4" hole saw bit since the tubing was 3/4" diameter. The fit was nice and tight. |
 |
|
|
| Here is a cut on about a seven degree angle. I had to put a spacer in the clamping mechanism -- no big deal. |
 |
|
|
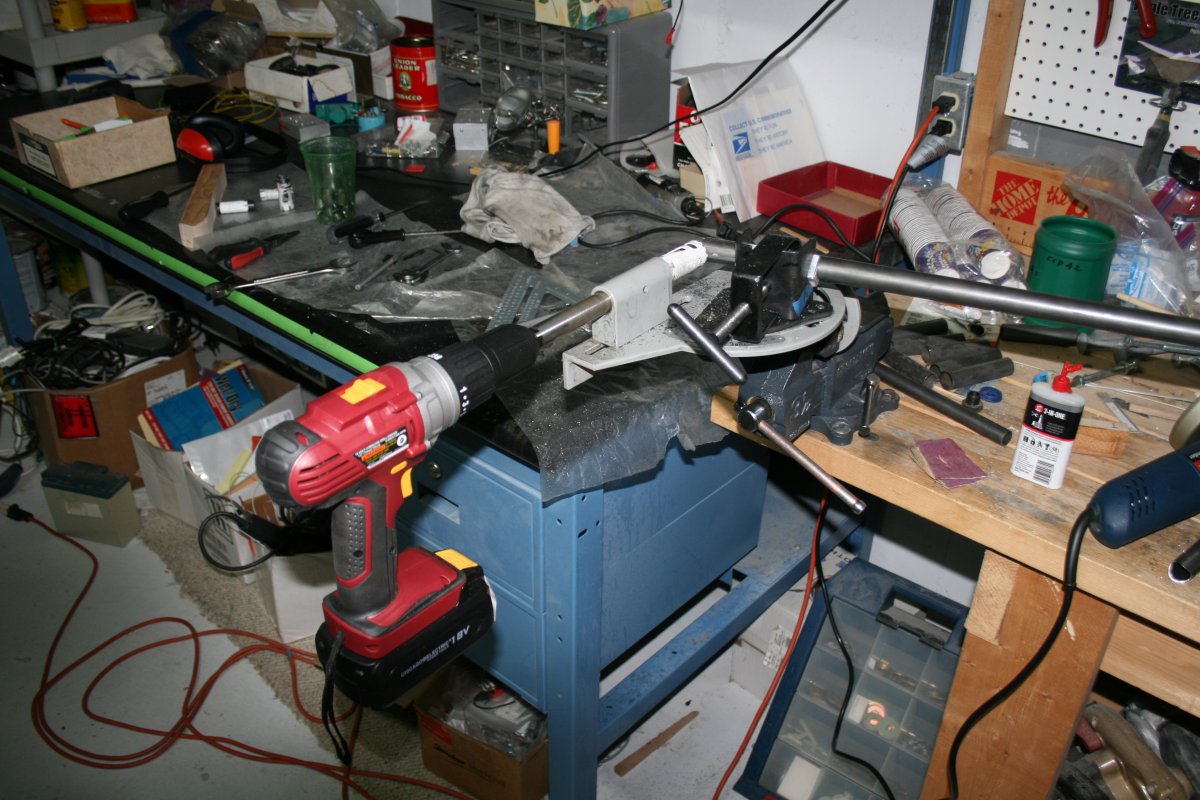
| I used an electric drill with a 1/2" chuck to drive the hole saw bit. And lots of oil to keep the work lubricated so my hole saw bit wouldn't dull. |
 |
|
|
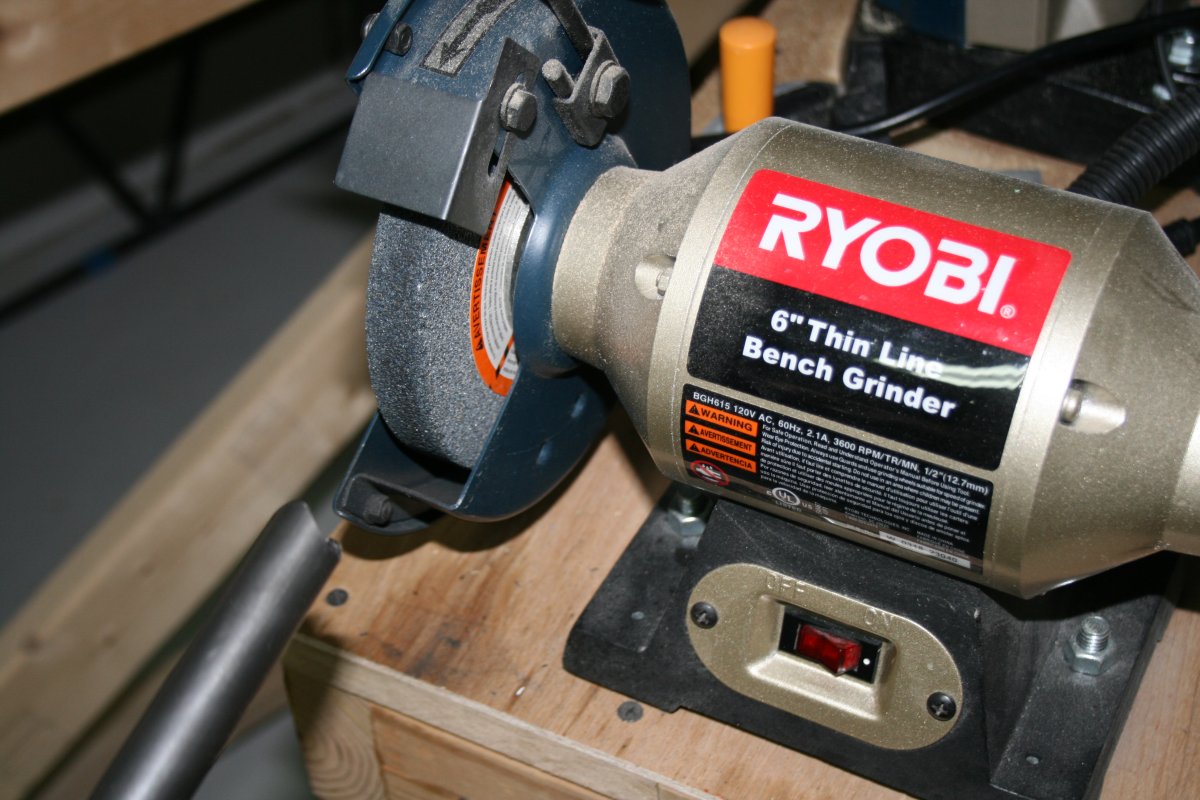
| After notching, I used a needle file to remove the burrs from inside the tube and my bench grinder to remove the burrs on the outside of the tube. I bought this bench grinder at the beginning of the RV project had rarely used it. But I'm getting lots of use out of it on this project. |
 |
|
|
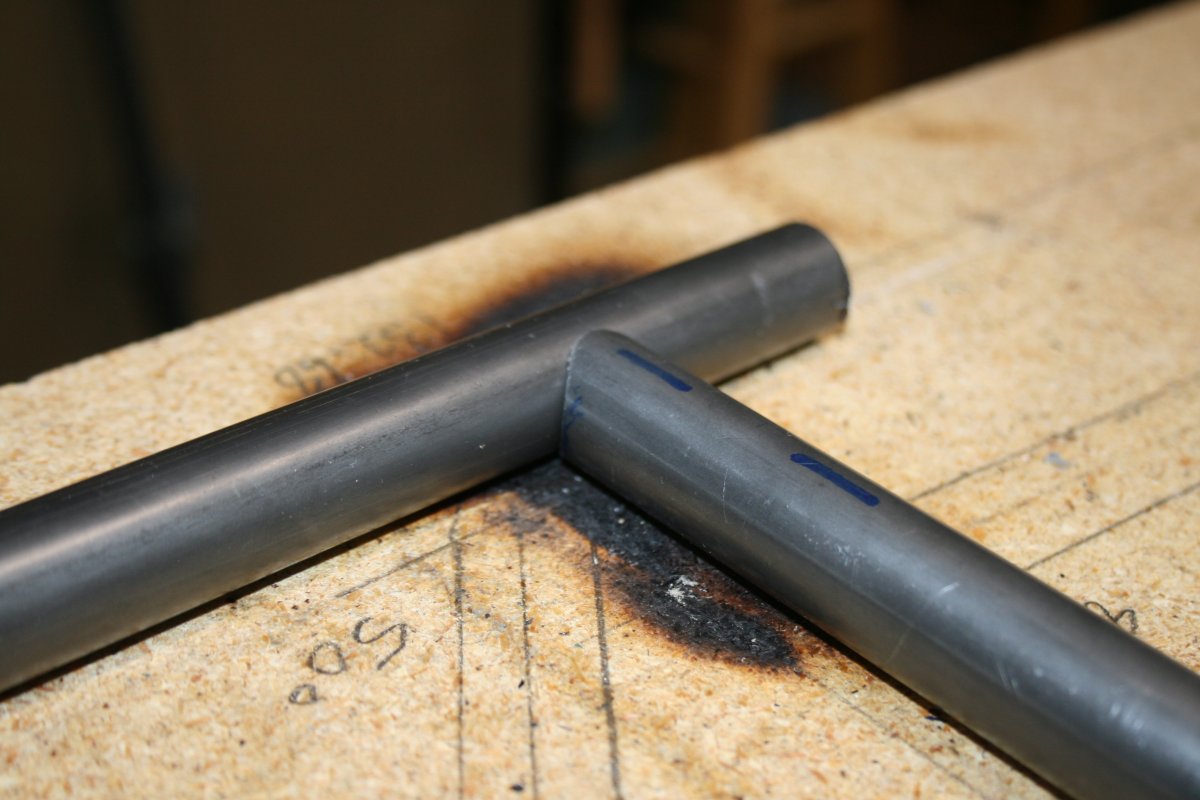
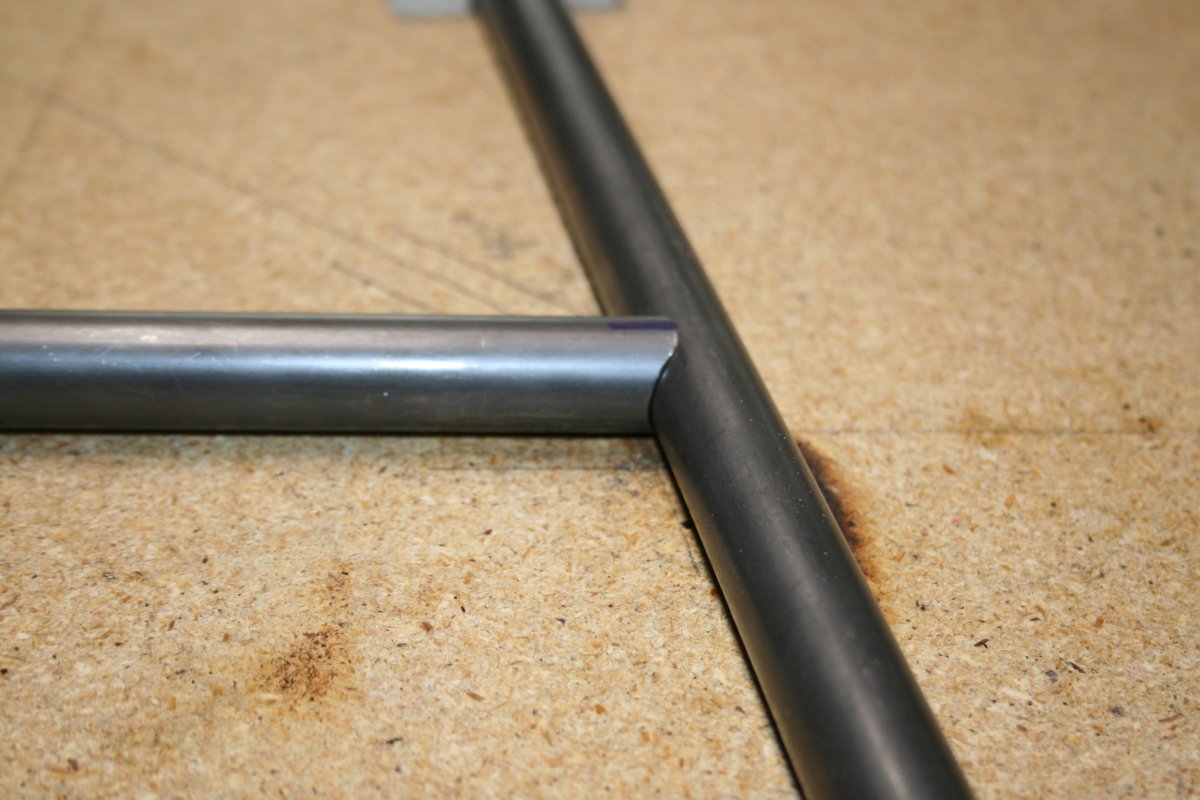
| Here's an example of a crossmember fitting up against a longeron on a slight angle. |
 |
|
|
| The view a little farther away. Each joint is different. You just take it one joint at a time, taking the time to get it right. |
 |
|
|
| |
|
|
|
|
|
|