2019 - Triplane - Mounting the center and lower wing spars to the fuselage
|
|
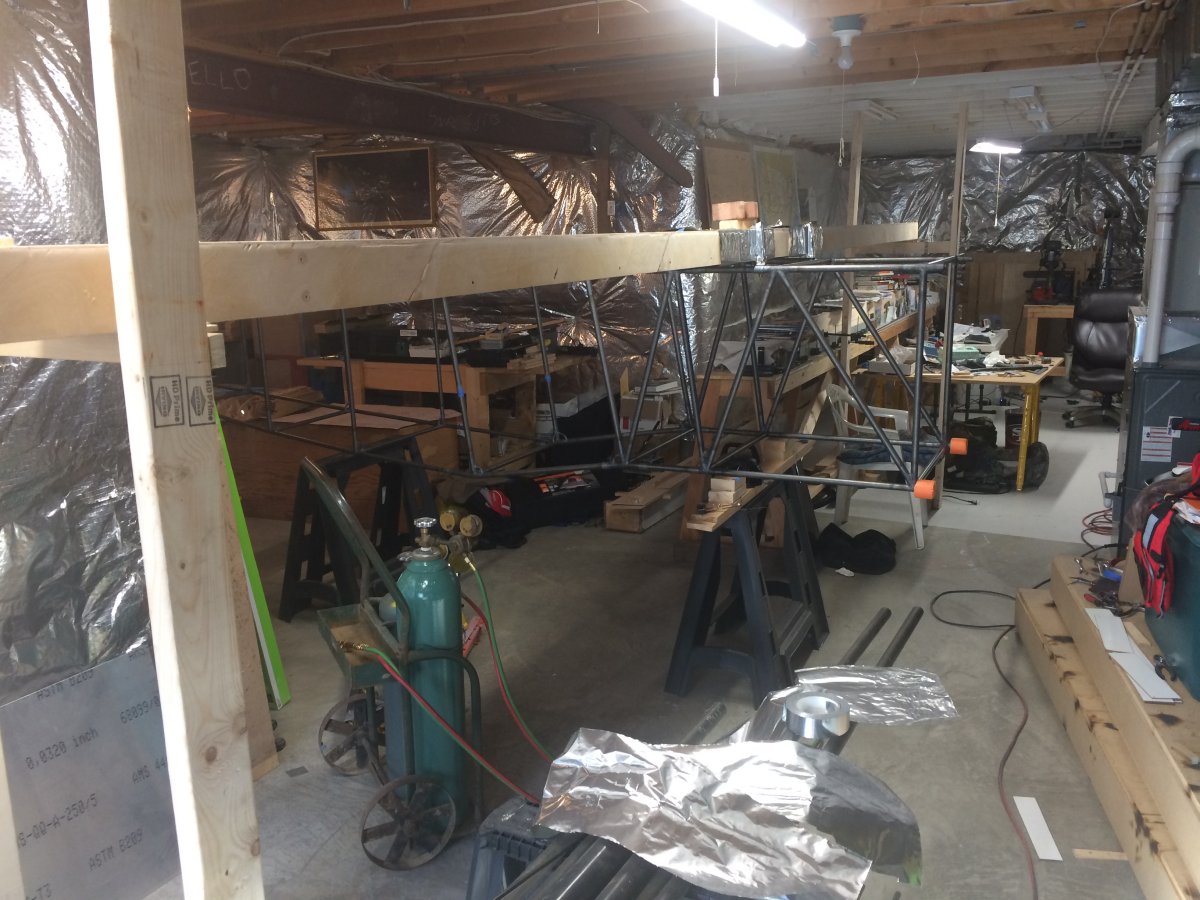
The next step was to mount the center and lower wing spars to the fuselage. Basically this is done by welding steel tube "bushings" to the side of the fuselage. A big bolt goes through the spar bracket bottom and through the bushing on the fuse.
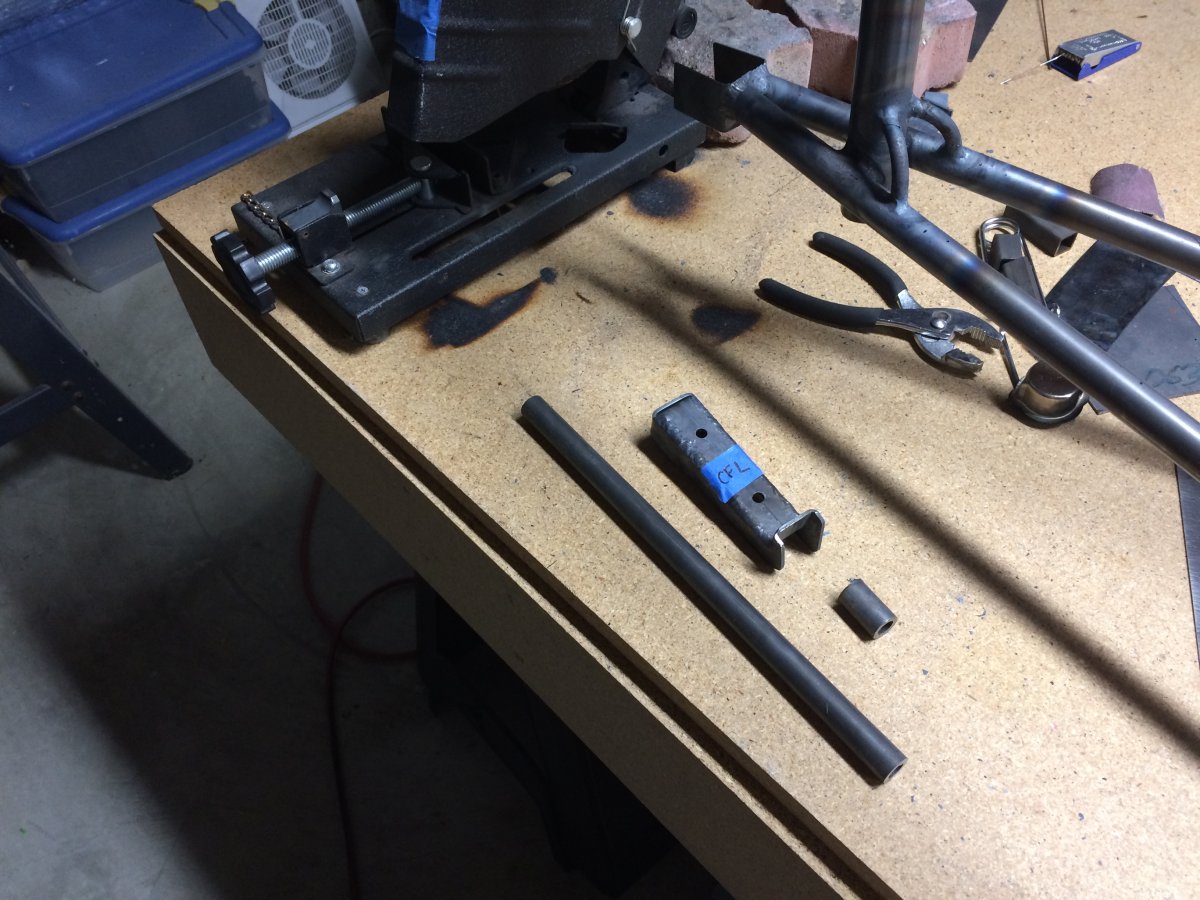
So first I cut my bushings from steel tube stock, using the chop saw/abrasive cutting wheel.
|
 |
|
|
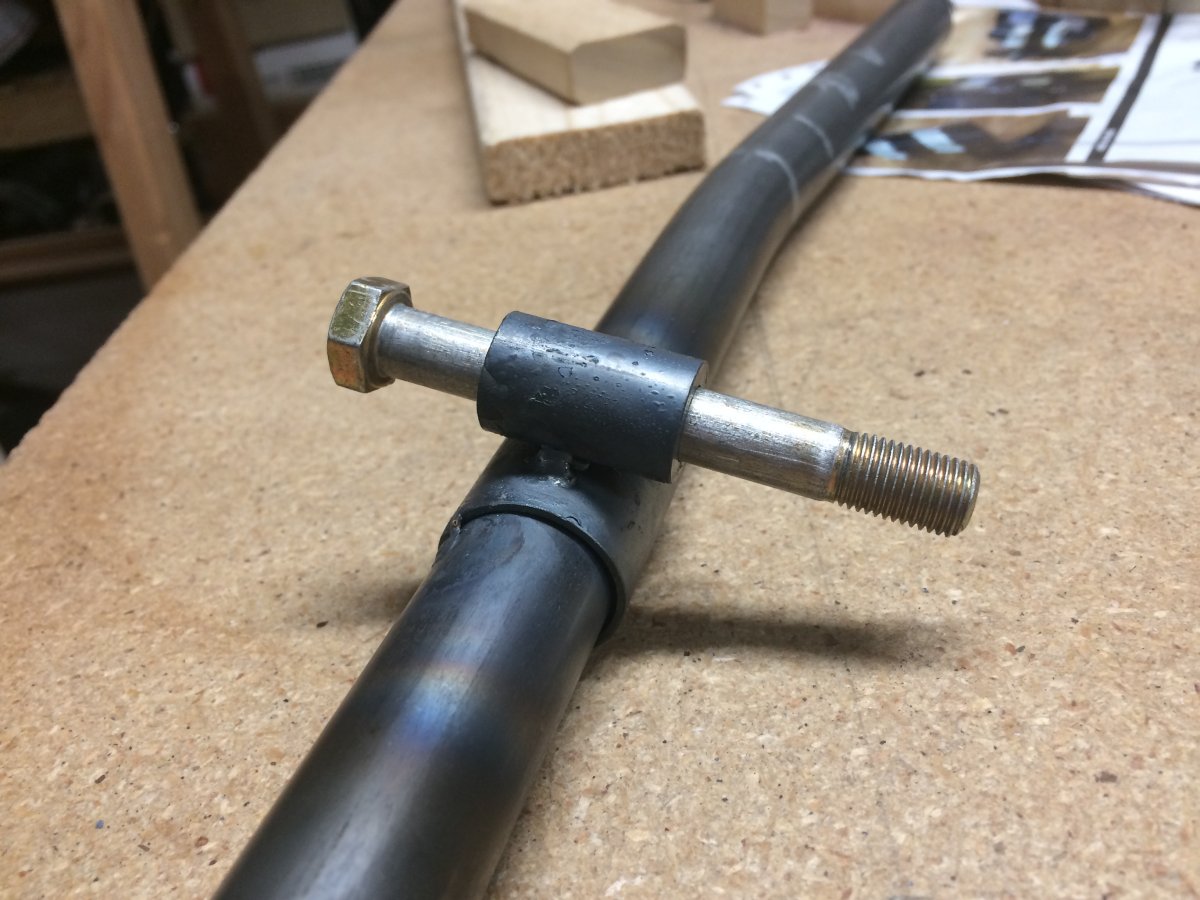
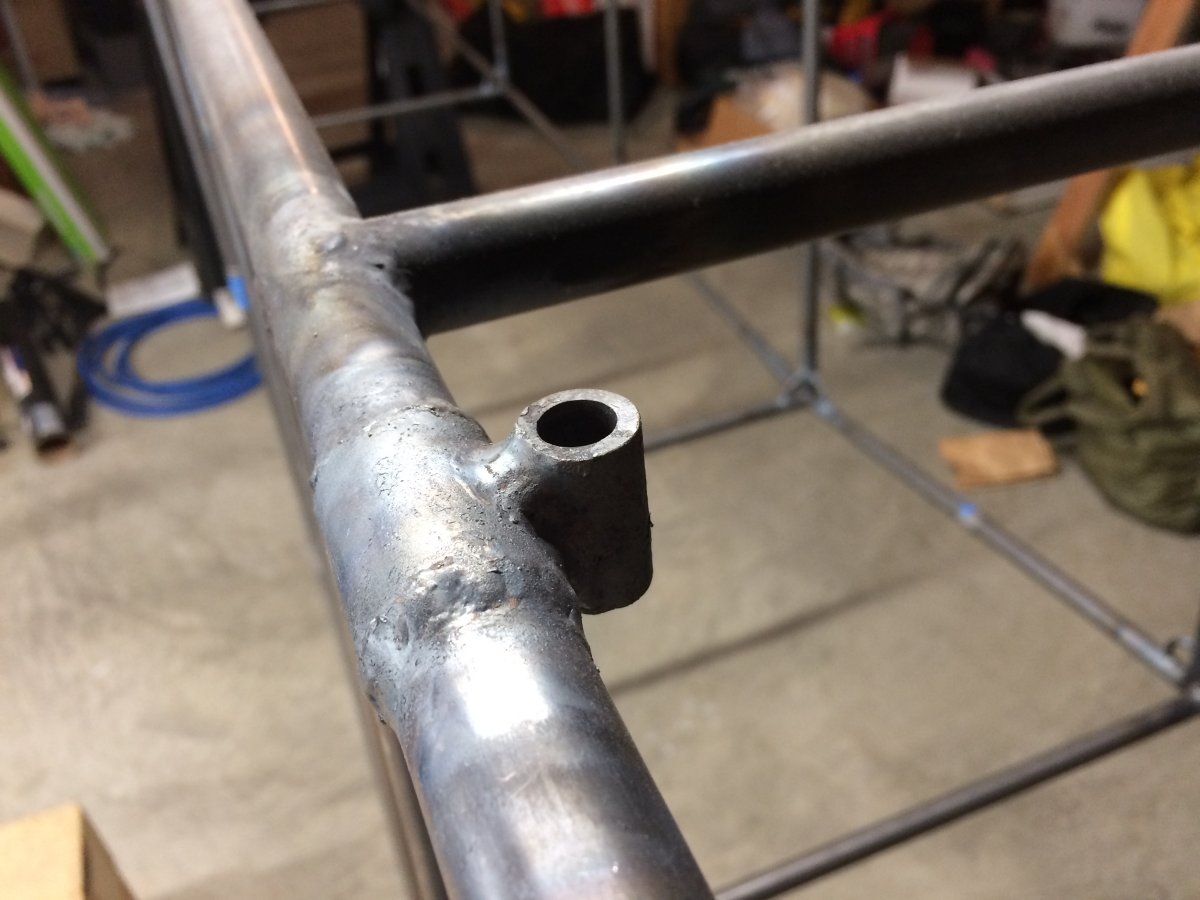
I wanted to practice the tack and final welding on this first. So I practiced on an old practice piece of fuseage tube -- one that I had used to practice the longeron bend.
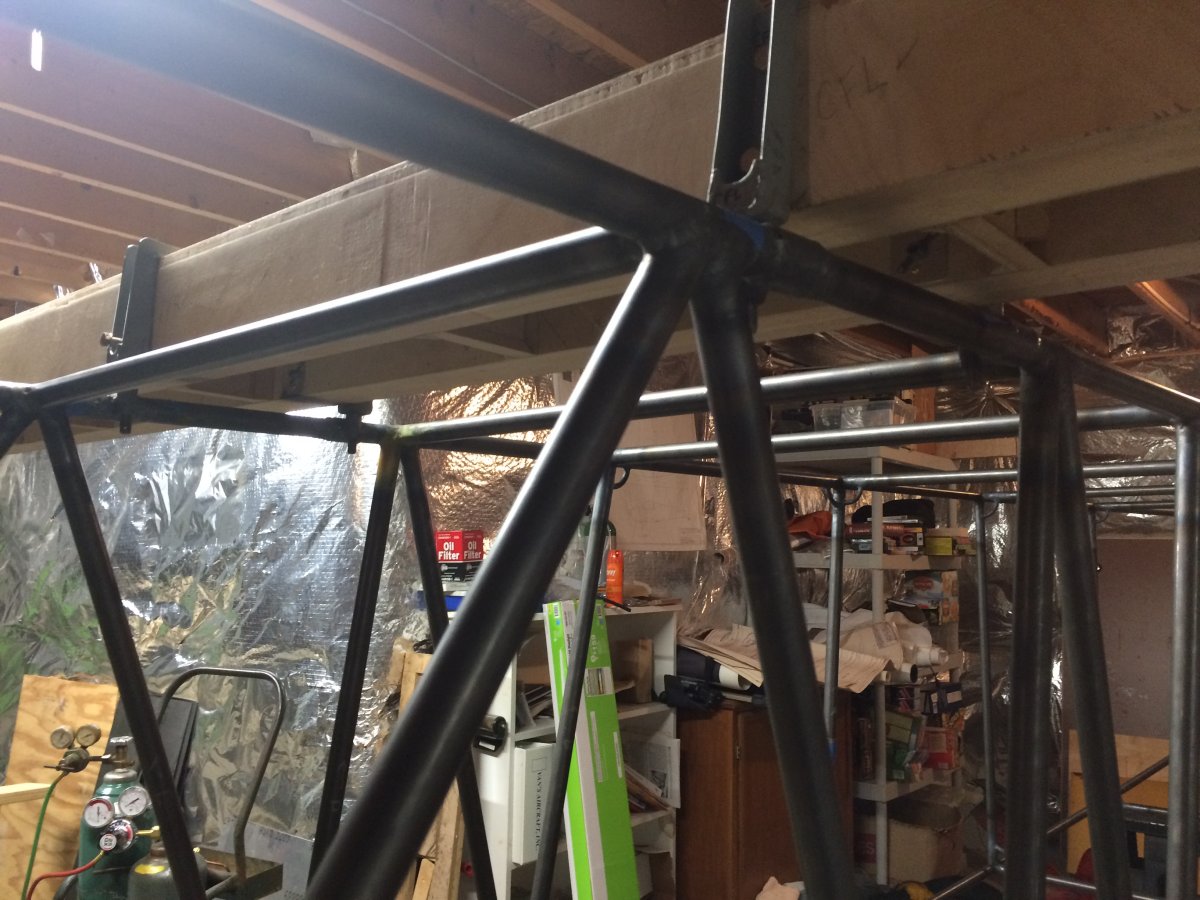
This picture gives a good idea of what I'm trying to do here; how it works. Notice that the bushing is welded to a "sleeve" that surrounds the fuse tube. This piece of the puzzle is pretty important so it is beefed up.
|
 |
|
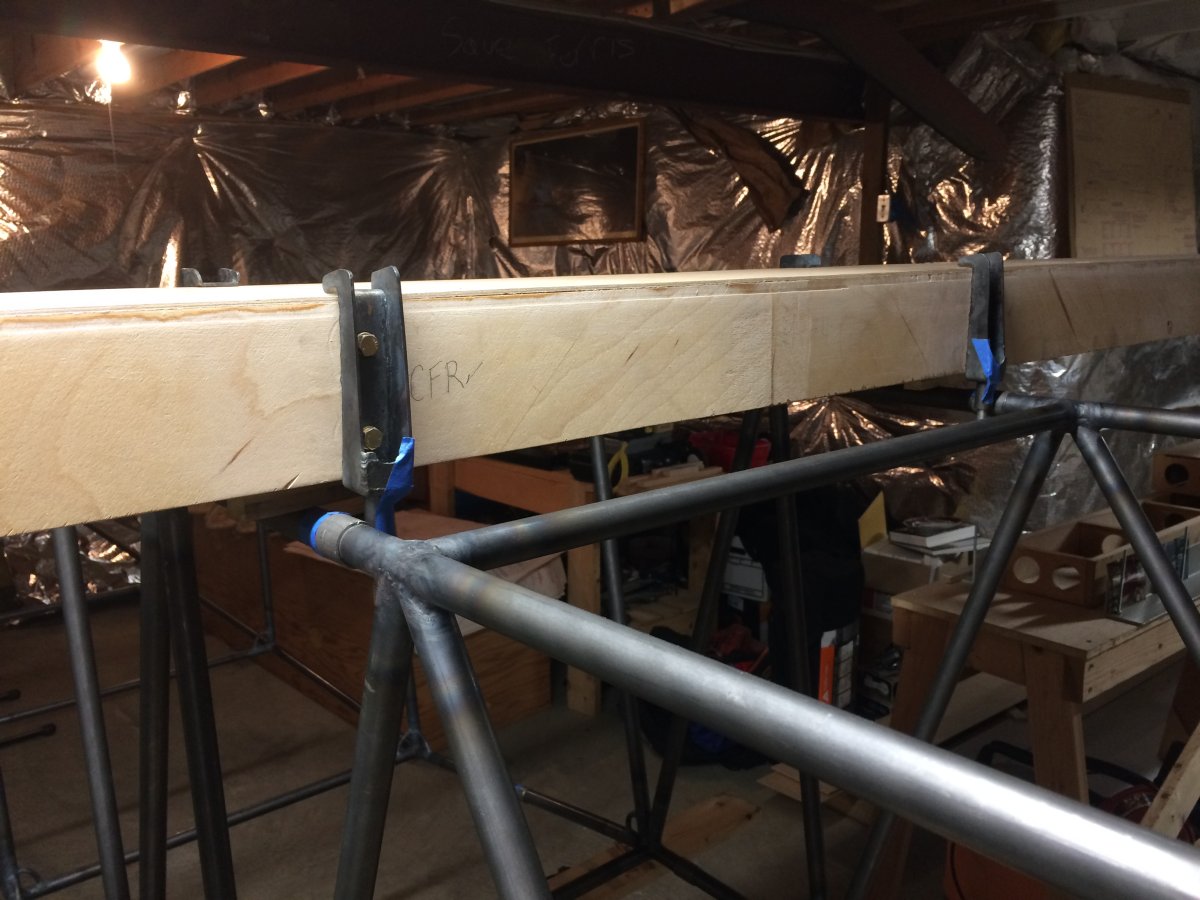
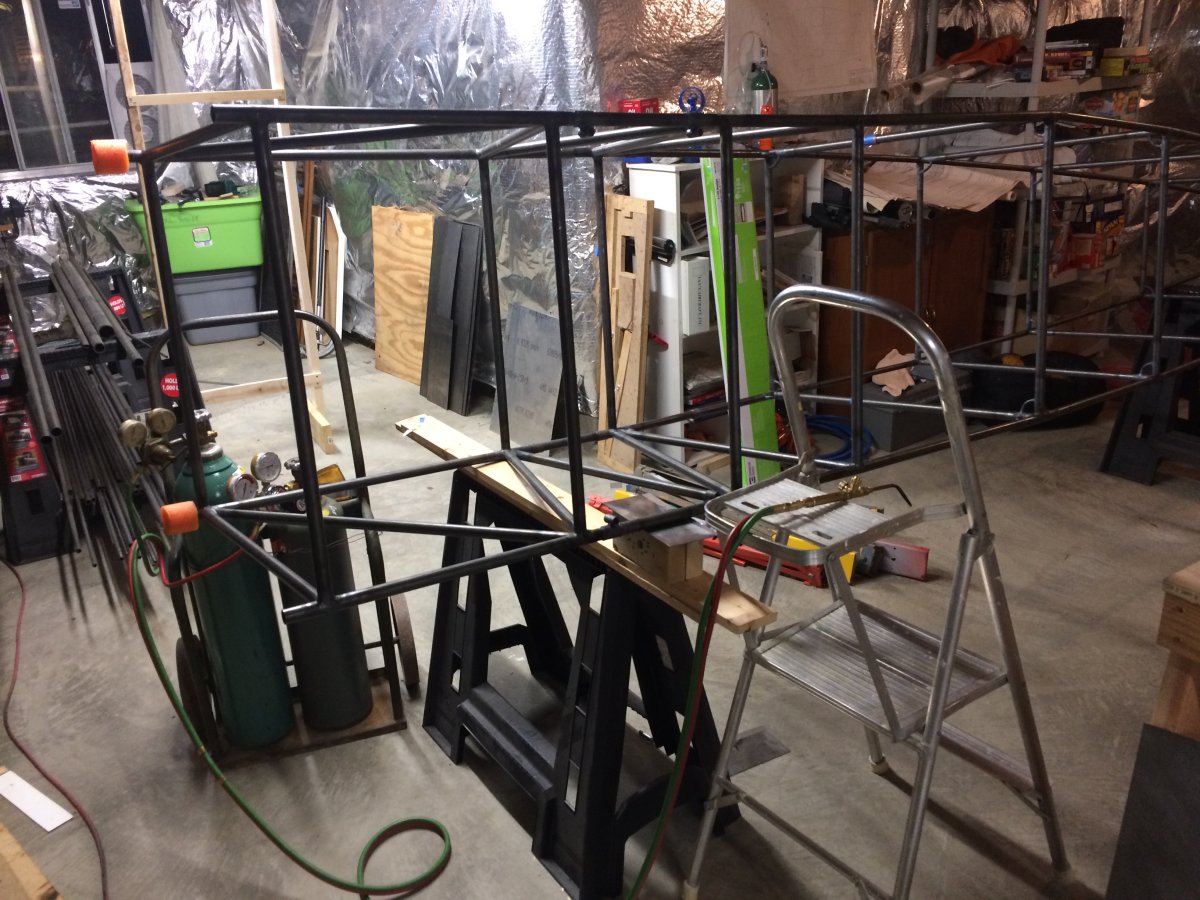
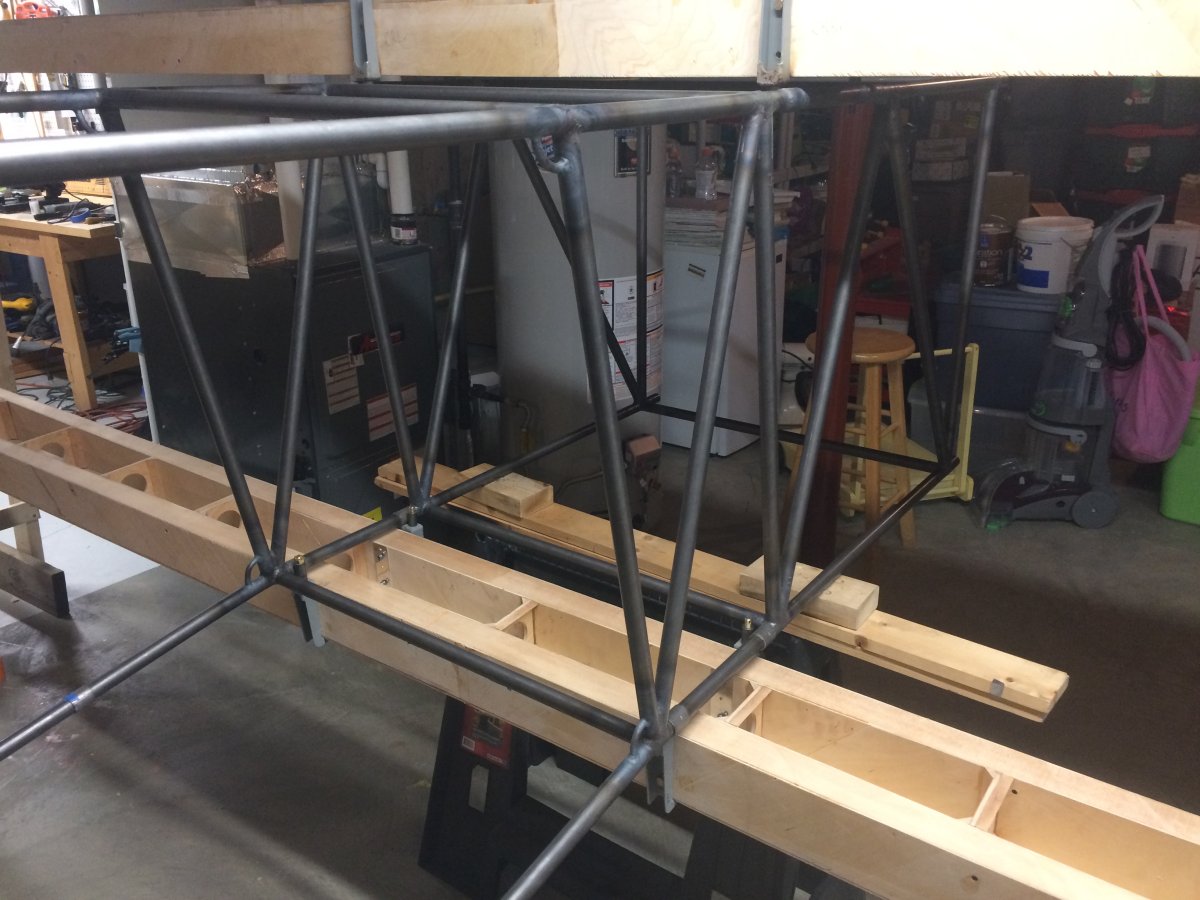
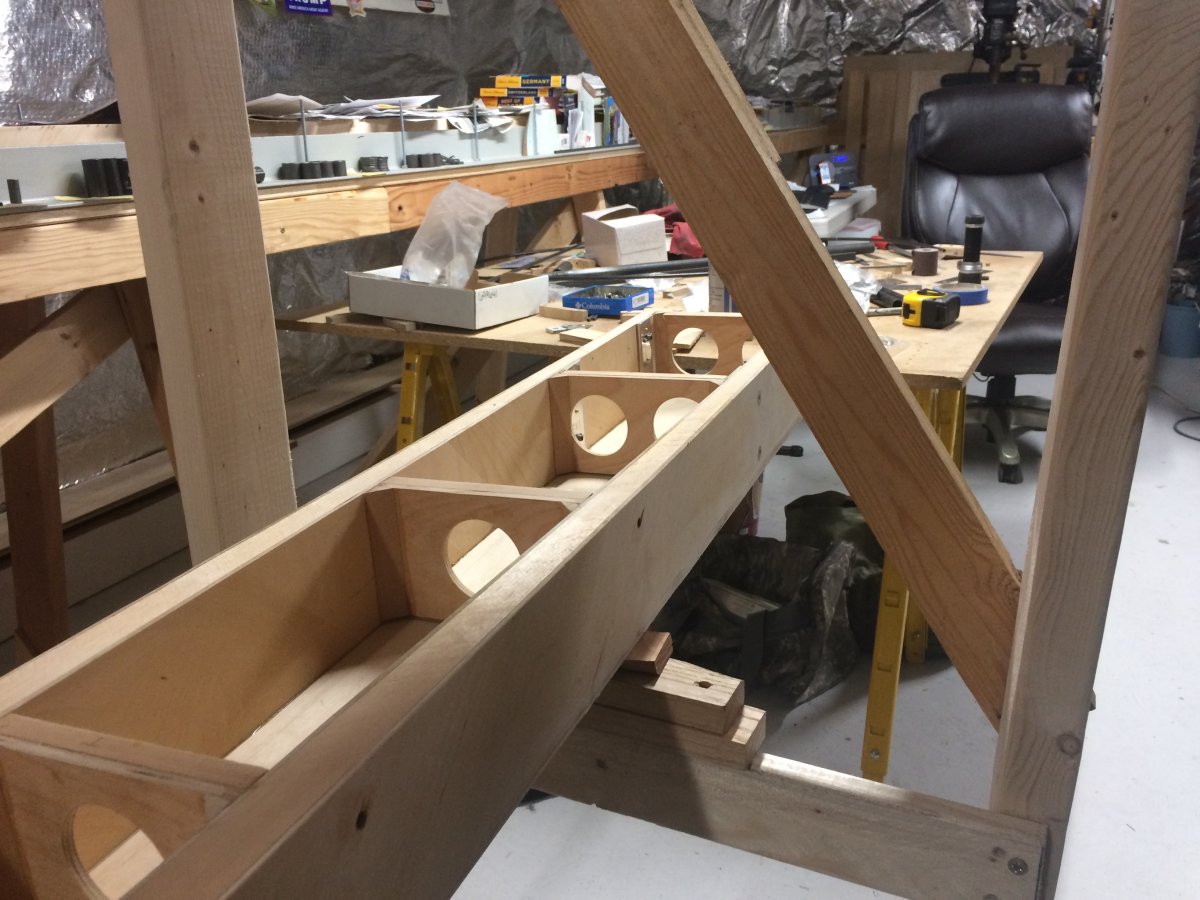
Basically, you have to position the wing spar in the right position relative to the fuselage, and get everything hooked up, before tack-welding the bushing to the fuse. Furthermore, the wing spars are
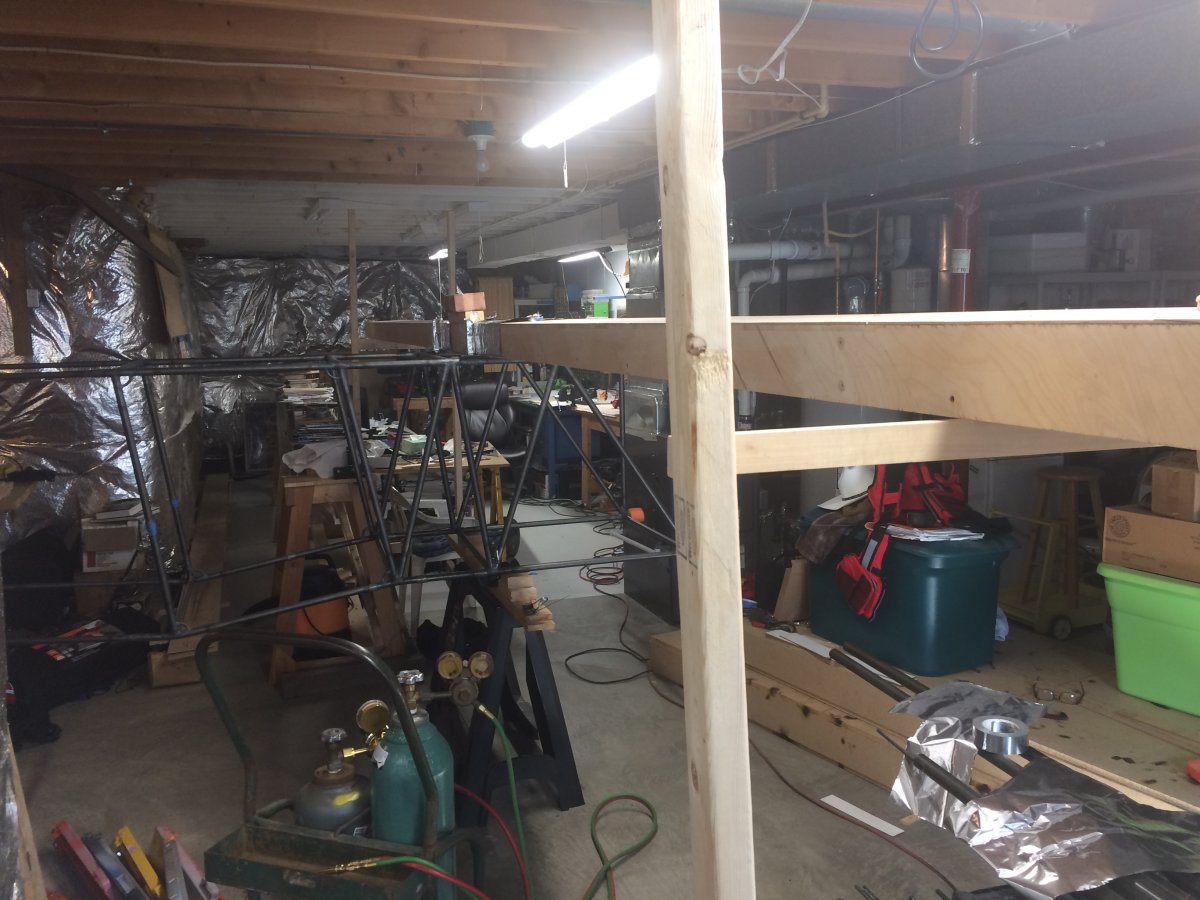
supposed to have a two-degree angle. To achieve all that I build some simple scaffolds for each side. |
 |
|
|
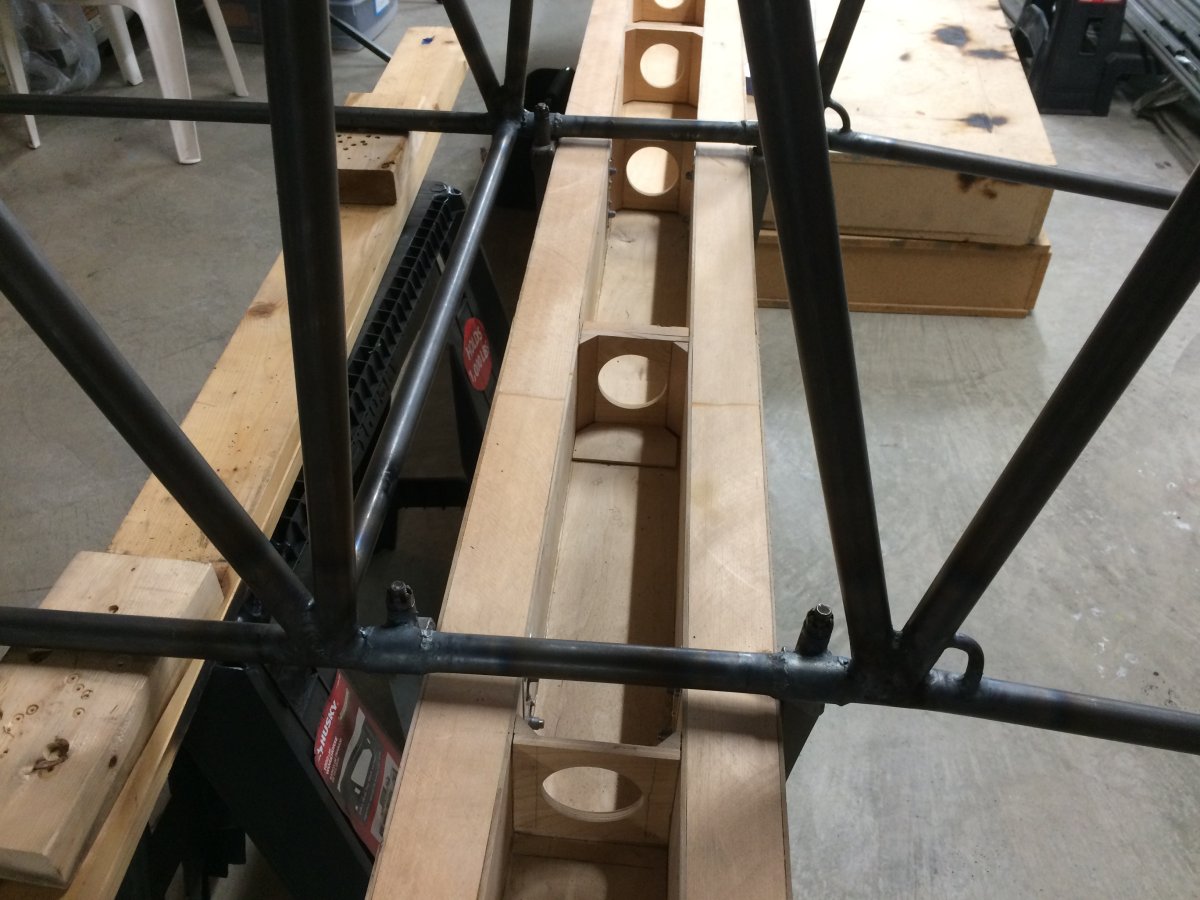
I bolted on the spar brackets and then spent a lot of time making sure everything was straight, aligned, and in the right position.
|
 |
|
|
| I realized that to tack-weld the bushing with the wooden wing spar in place, I would have to protect it from the heat somehow. |
 |
|
|
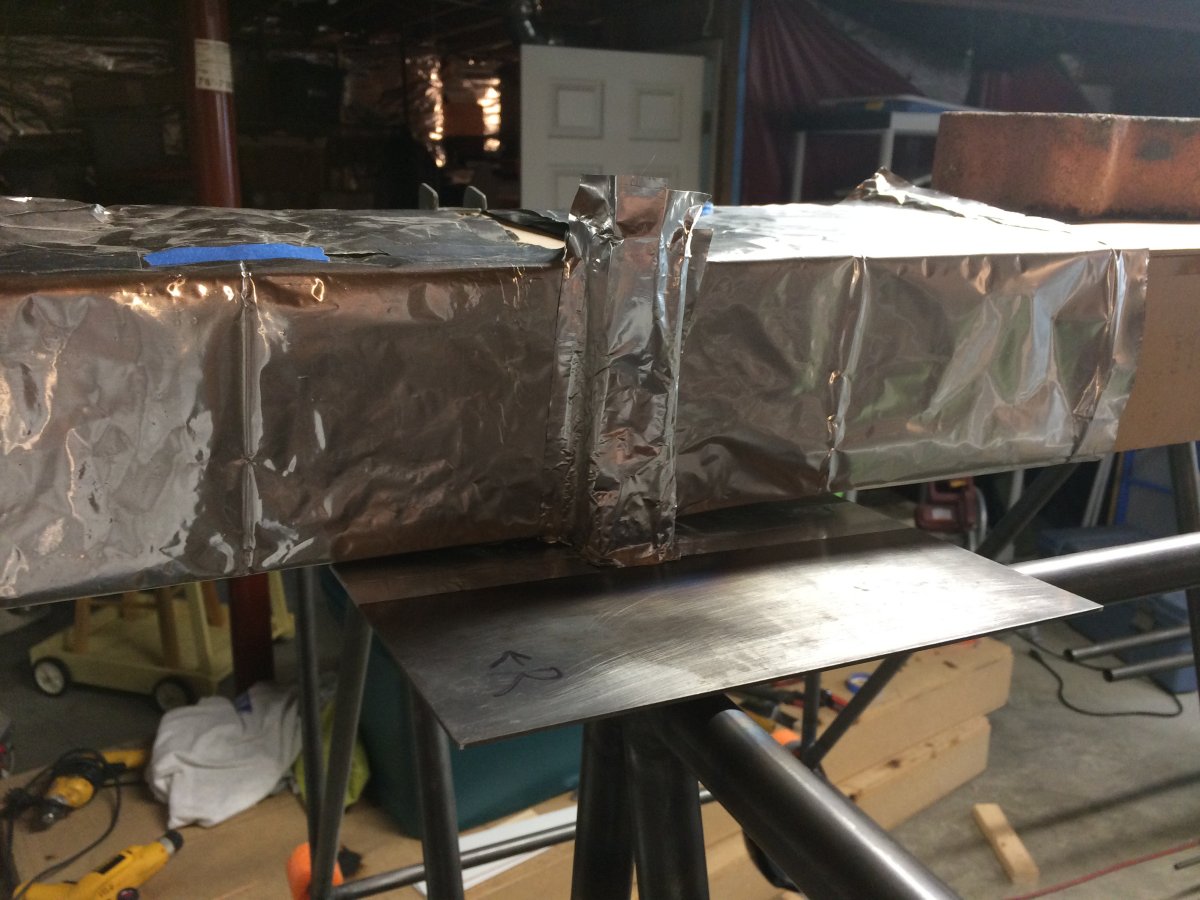
| I tried some fire-resistance aluminum foil but was not sufficient. |
 |
|
|
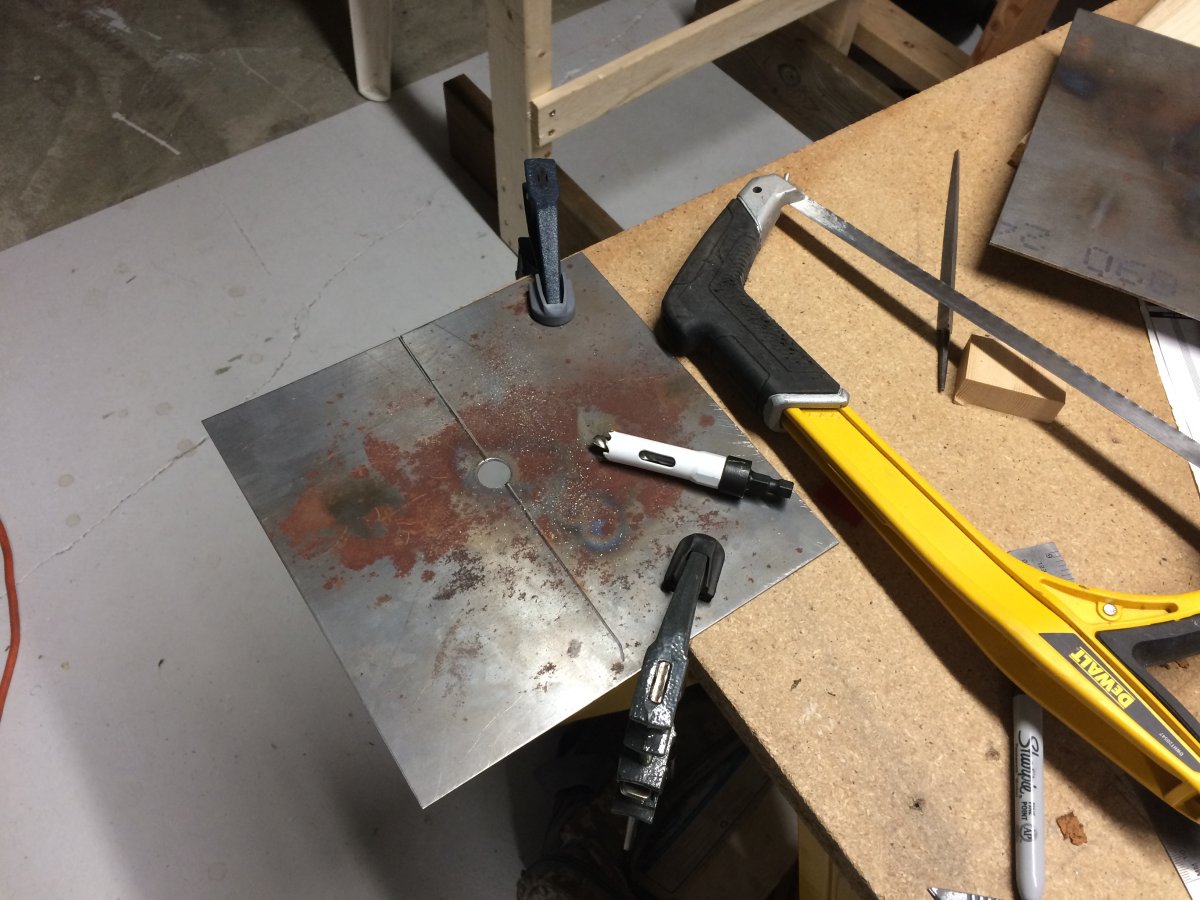
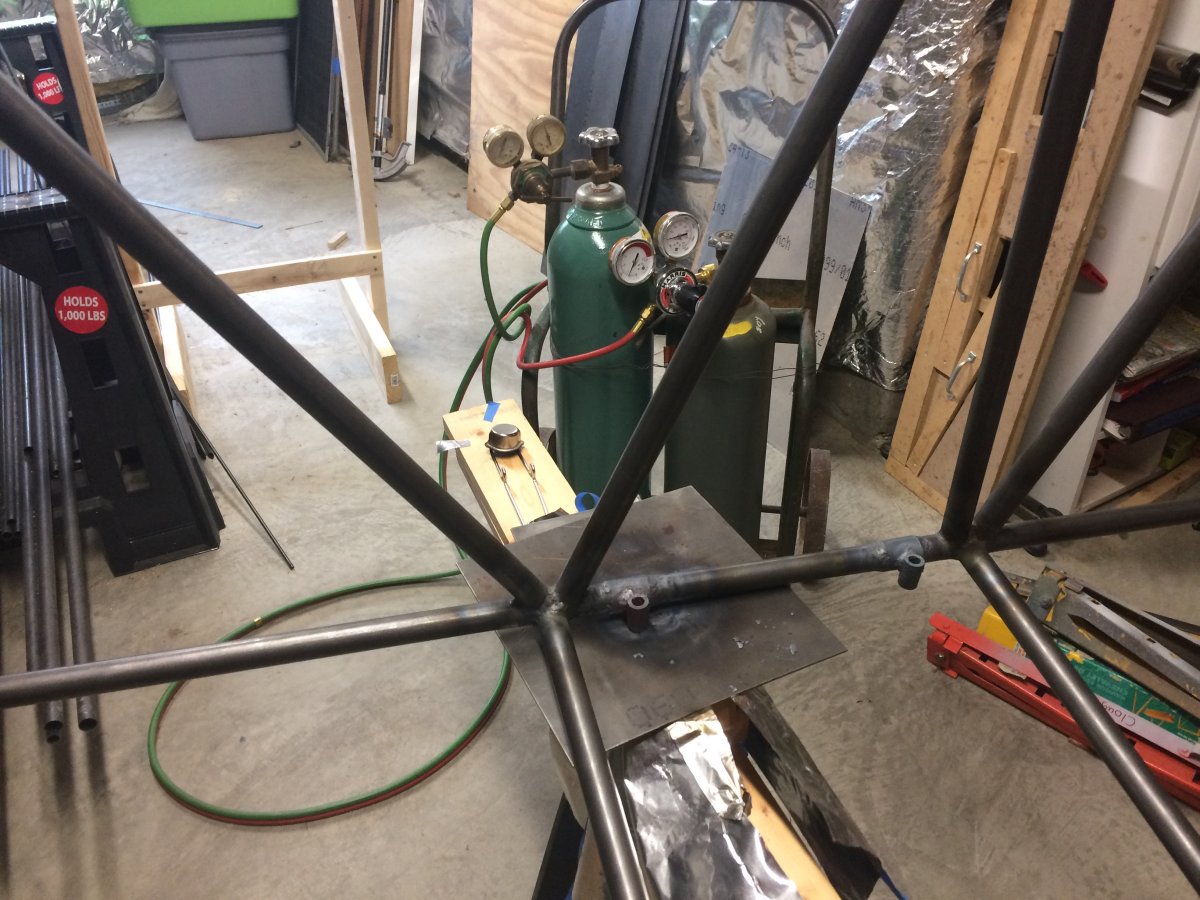
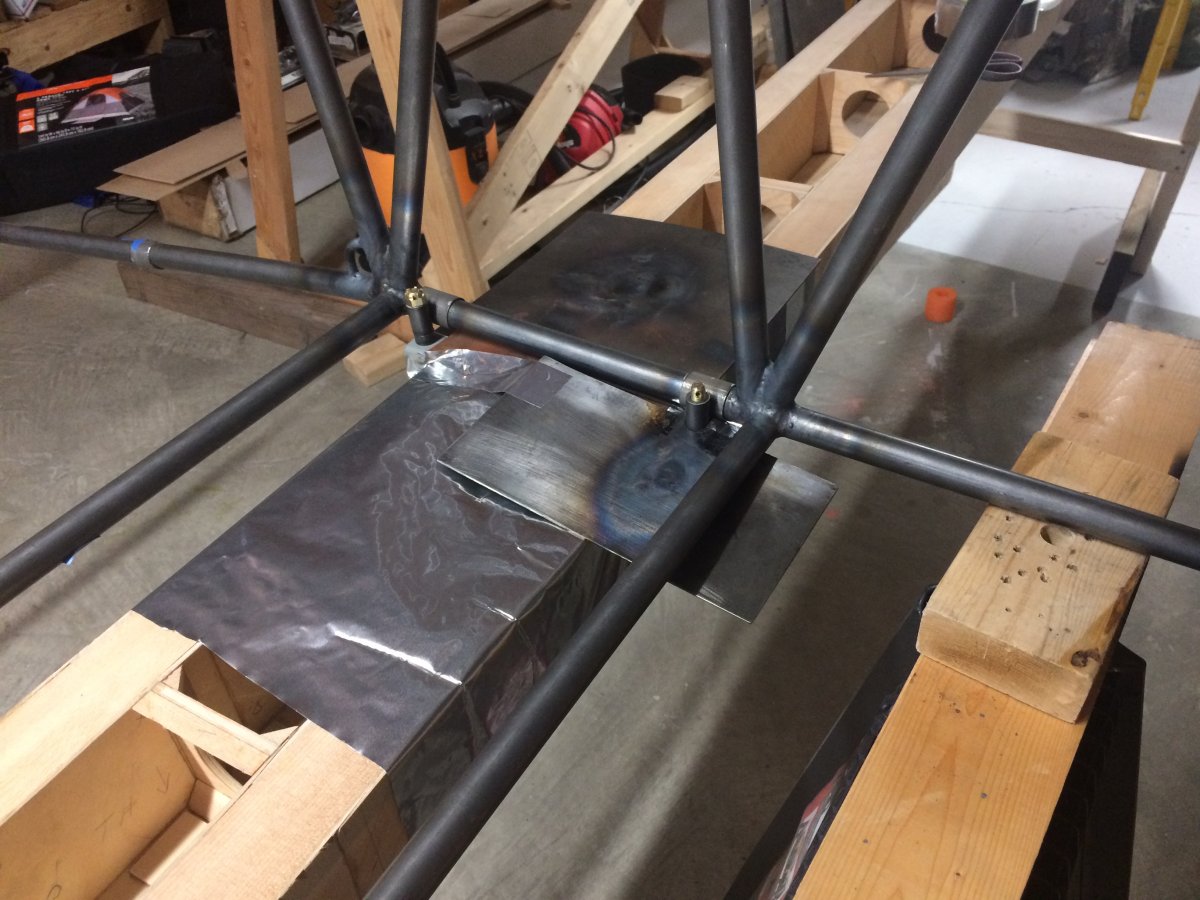
| So then I came up with the idea of using steel plate to protect the wood. I drilled a hole in the center of a a steel square sheet, the diameter of the bushing, then cut the square in half. (using my hack saw) |
 |
|
|
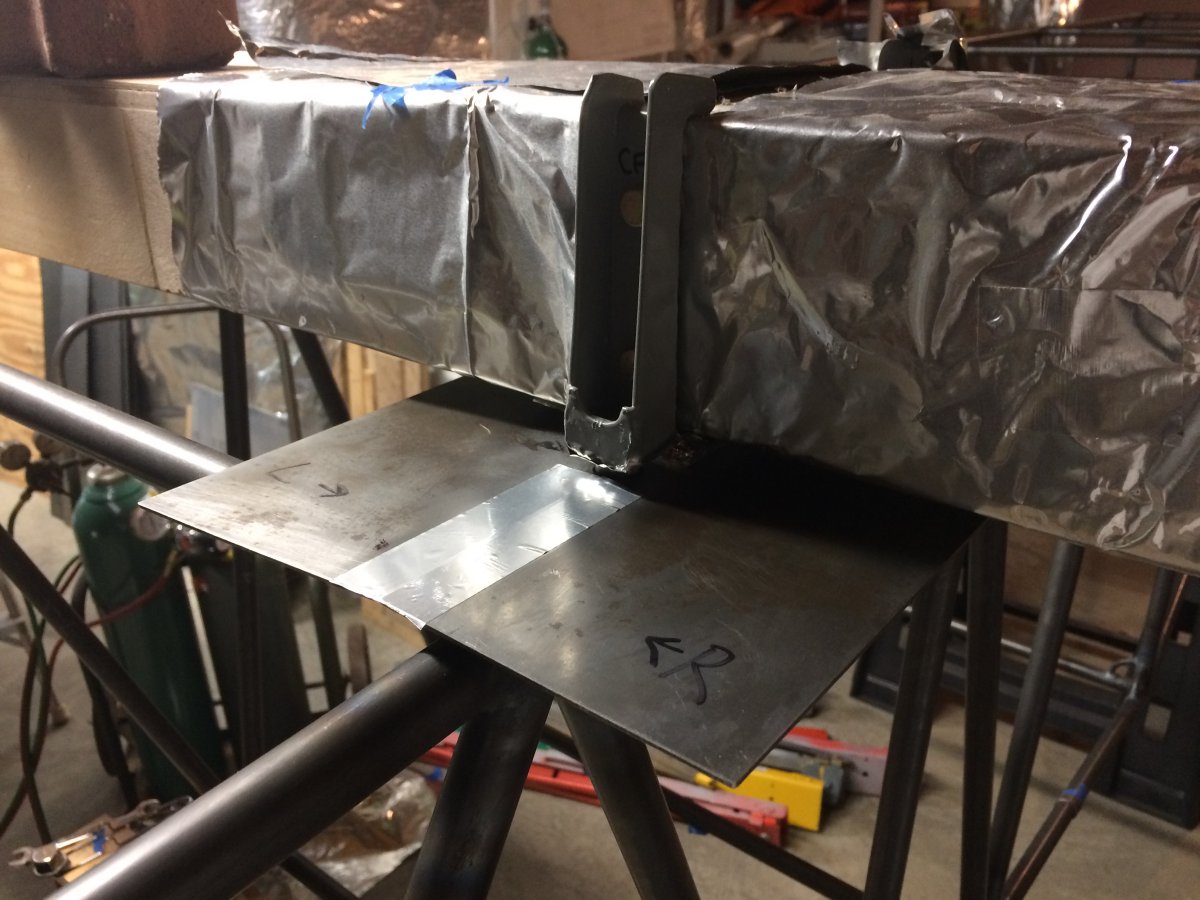
| OK, here we go. Ready for tack welding. I'm coming from the bottom of the steel plate with the torch. |
 |
|
|
| This worked well, so I went ahead and tacked the other three bushings. |
 |
|
|
| All four bushings are tack welded. |
 |
|
|
| From another angle. |
 |
|
|
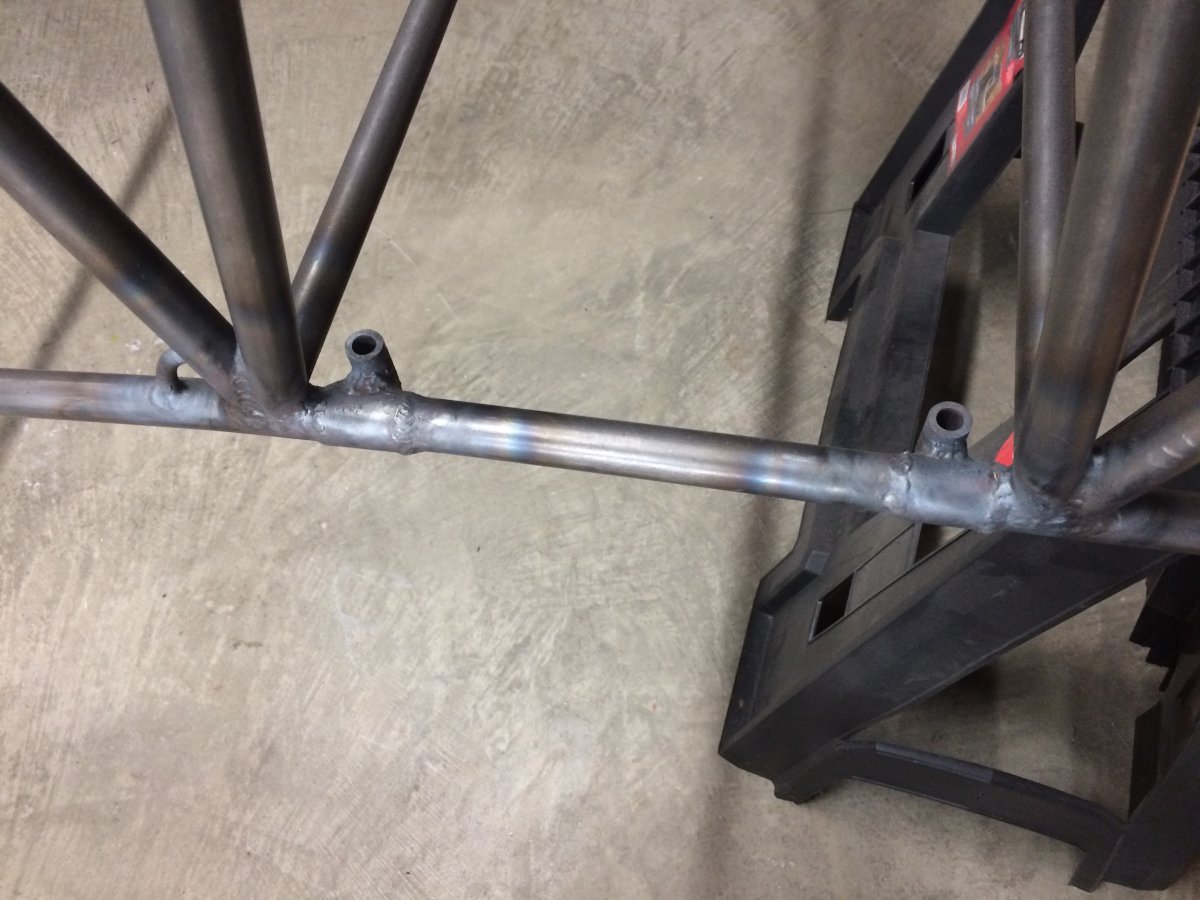
| Then it was time to final weld the bushings. I rotated the fuselage as required while welding. |
 |
|
|
| I had to use my steel plates to shield the saw horse from the torch. |
 |
|
|
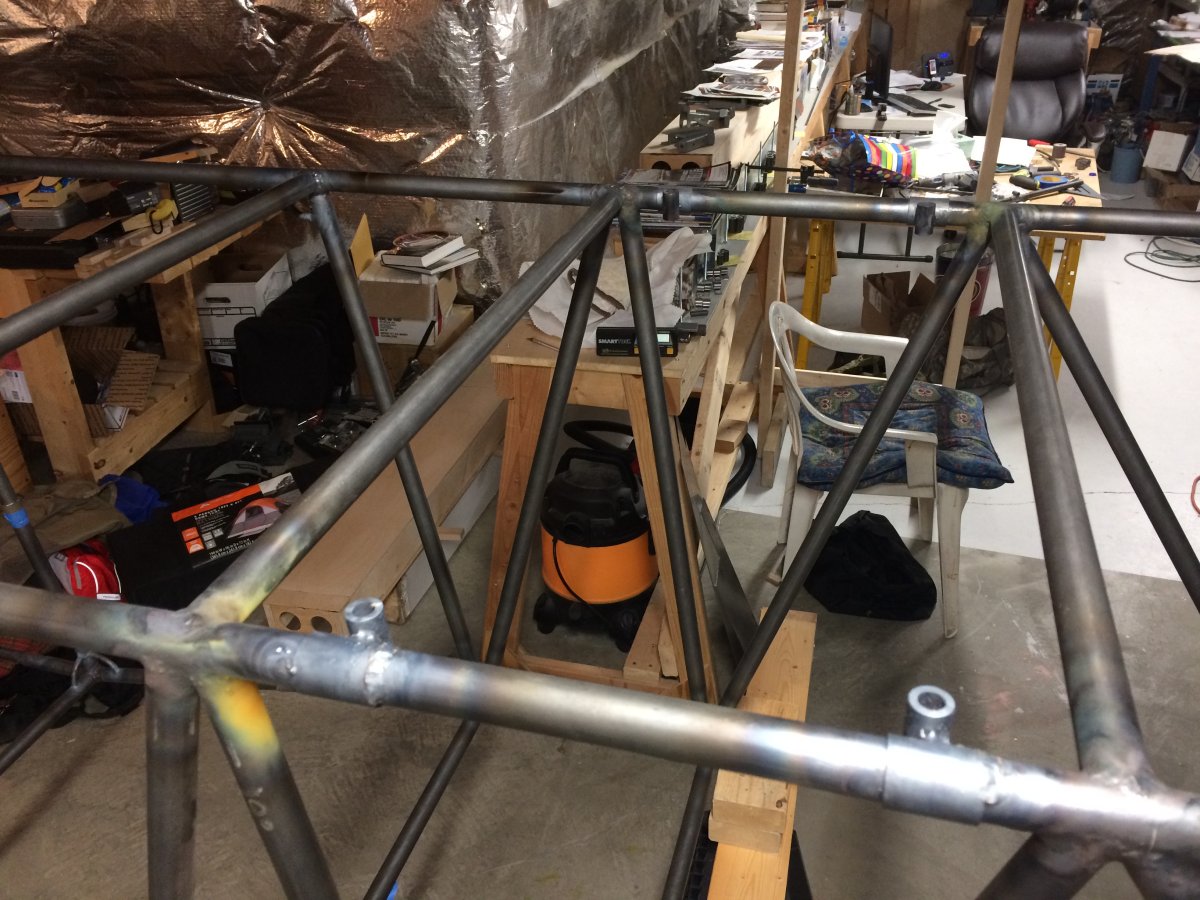
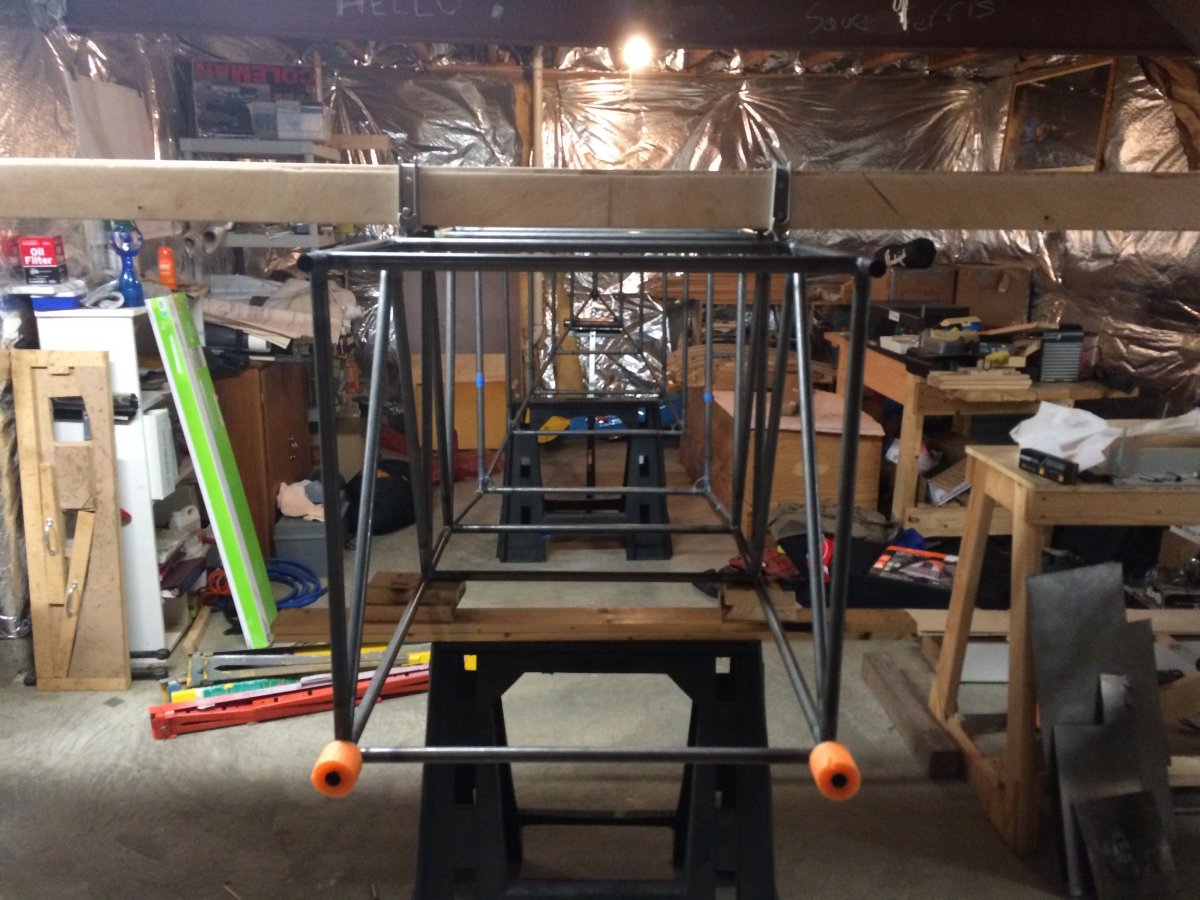
Once final welding was complete, then came the moment of truth. Would the center spar bolt to the fuse? Yes it did! I did have to use the needle file a little on the inside of the bushings. But overall,
I was very pleased with the tight fit of the bolts, and the spar was straight, aligned with the two degree angle. |
 |
|
|
| Looking at the spar from below. |
 |
|
|
| |
 |
|
|
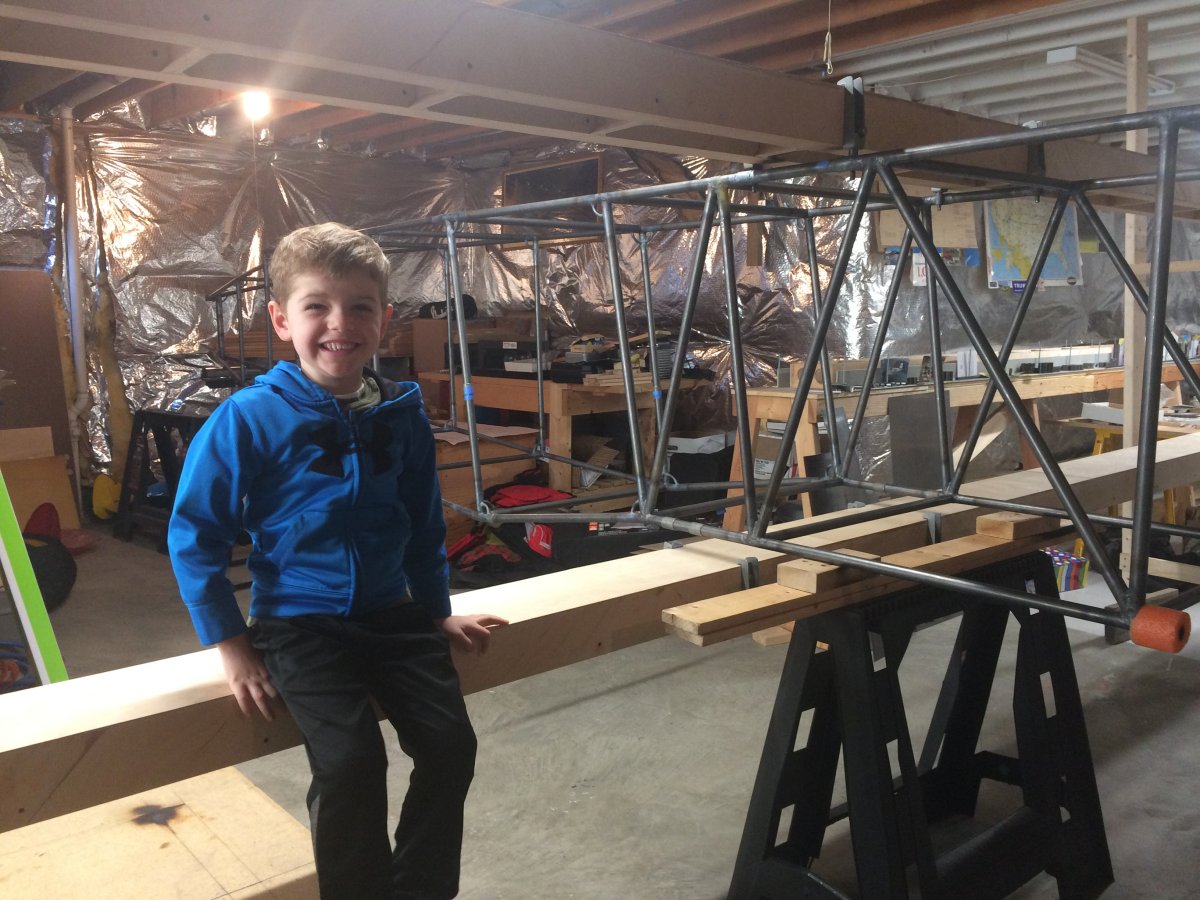
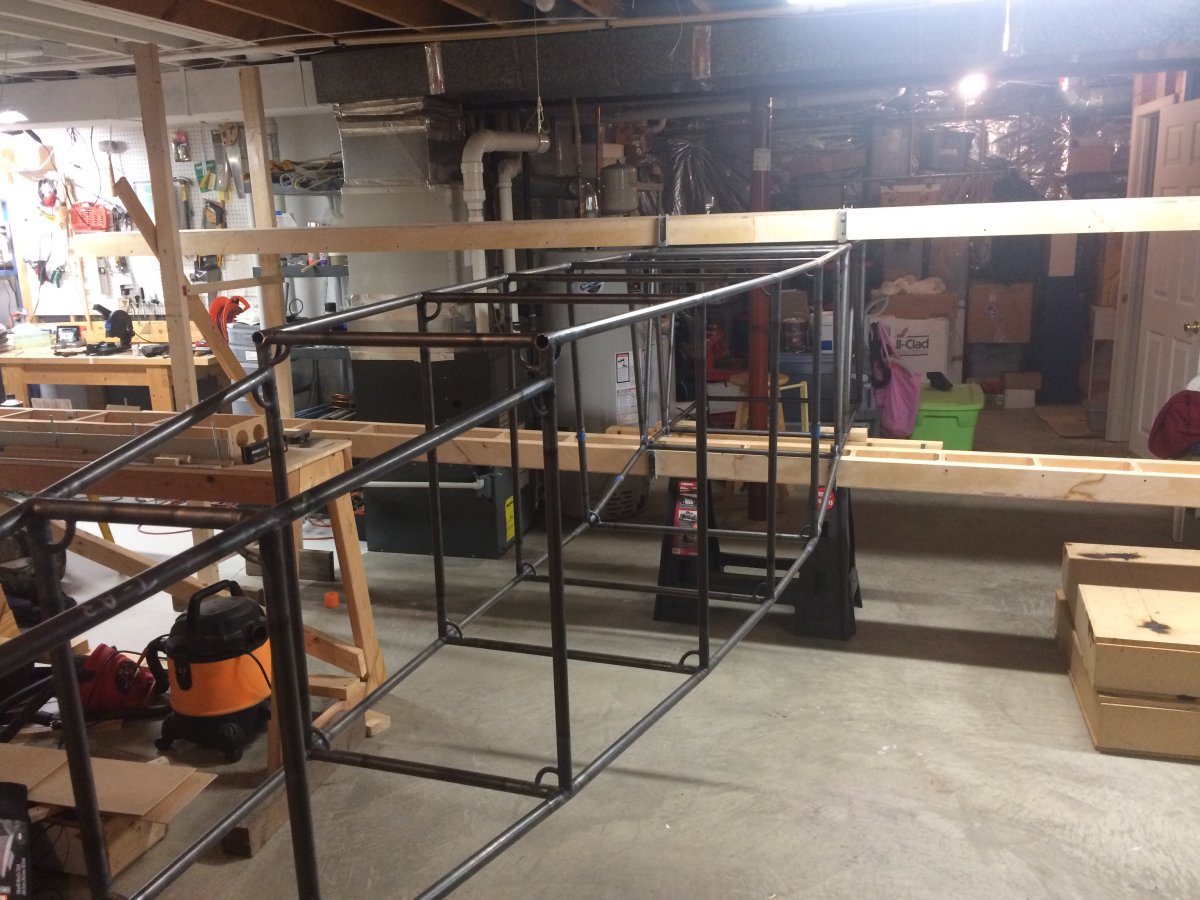
| Now it was time to mount the lower spar. First I decided to do a little weight testing on it. |
 |
|
|
| The spar handled the weight easily! |
 |
|
|
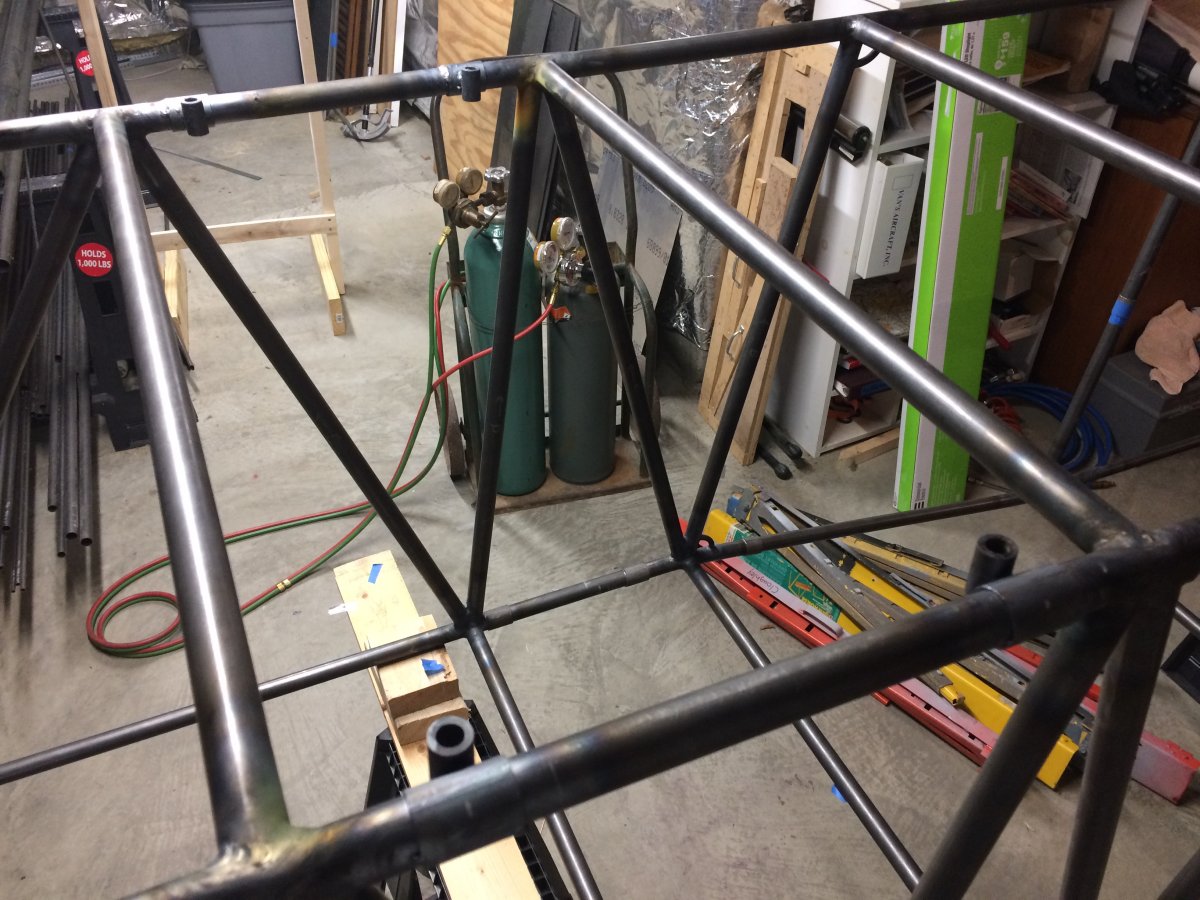
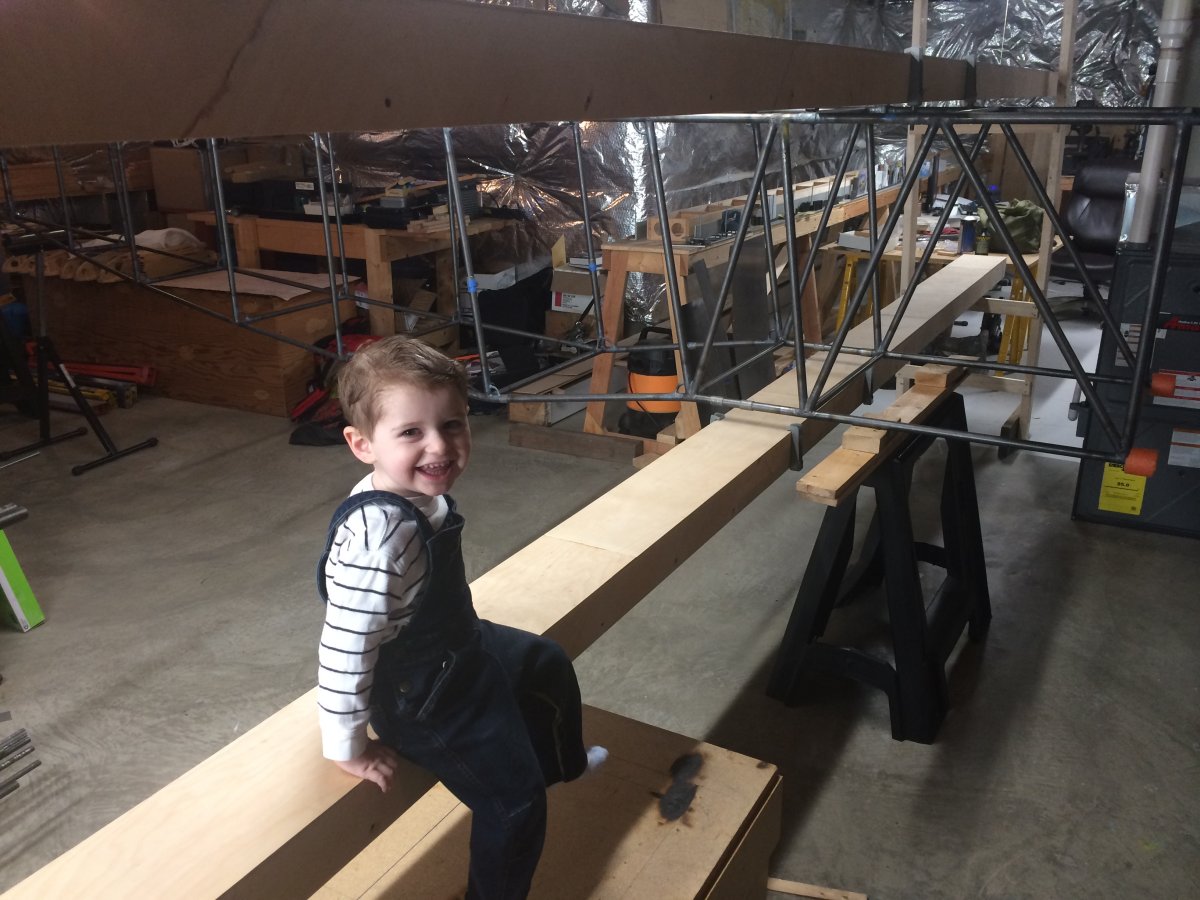
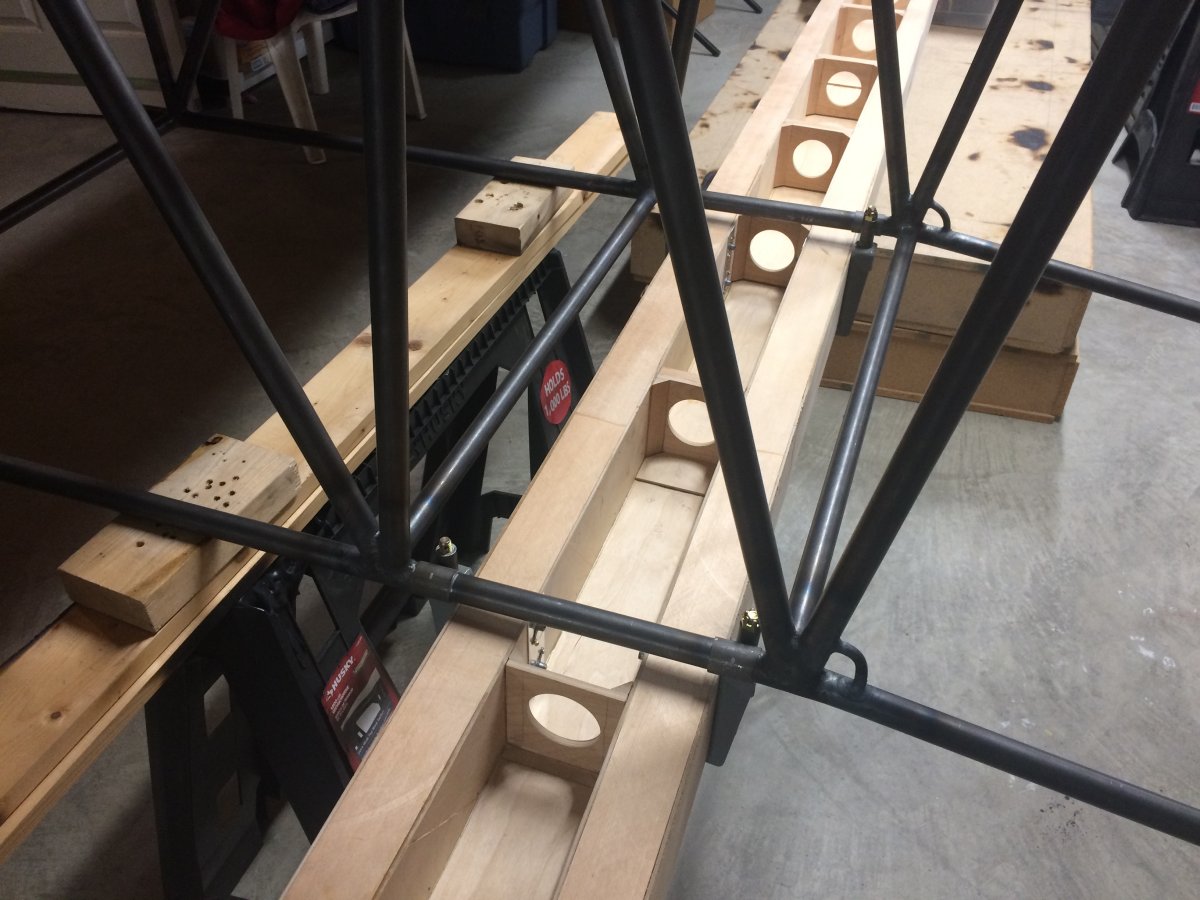
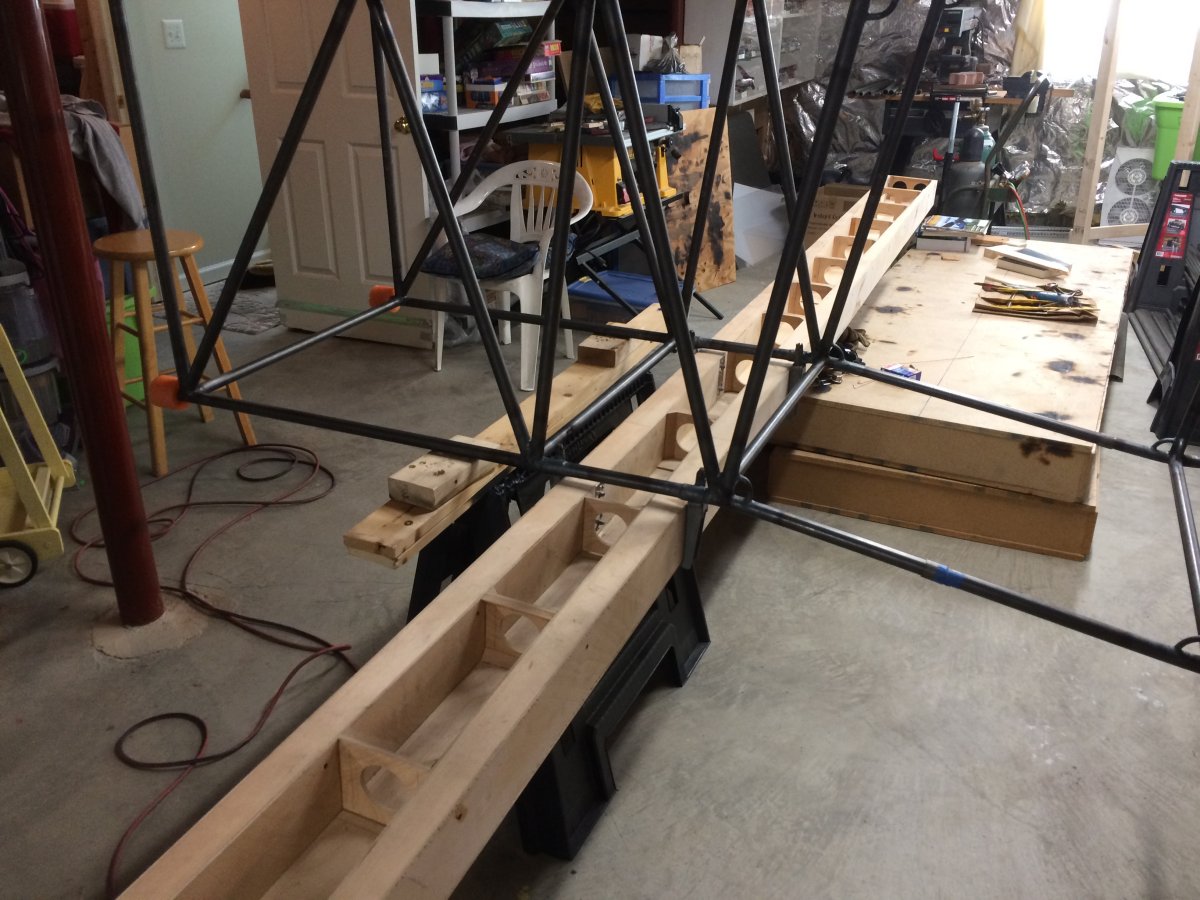
| I left the center spar on so I could make sure the lower spar was in correct alignment with it. |
 |
|
|
| Starting to look like something both spars on it. |
 |
|
|
| P5 |
 |
|
|
| P5 |
 |
|
|
| P5 |
 |
|
|
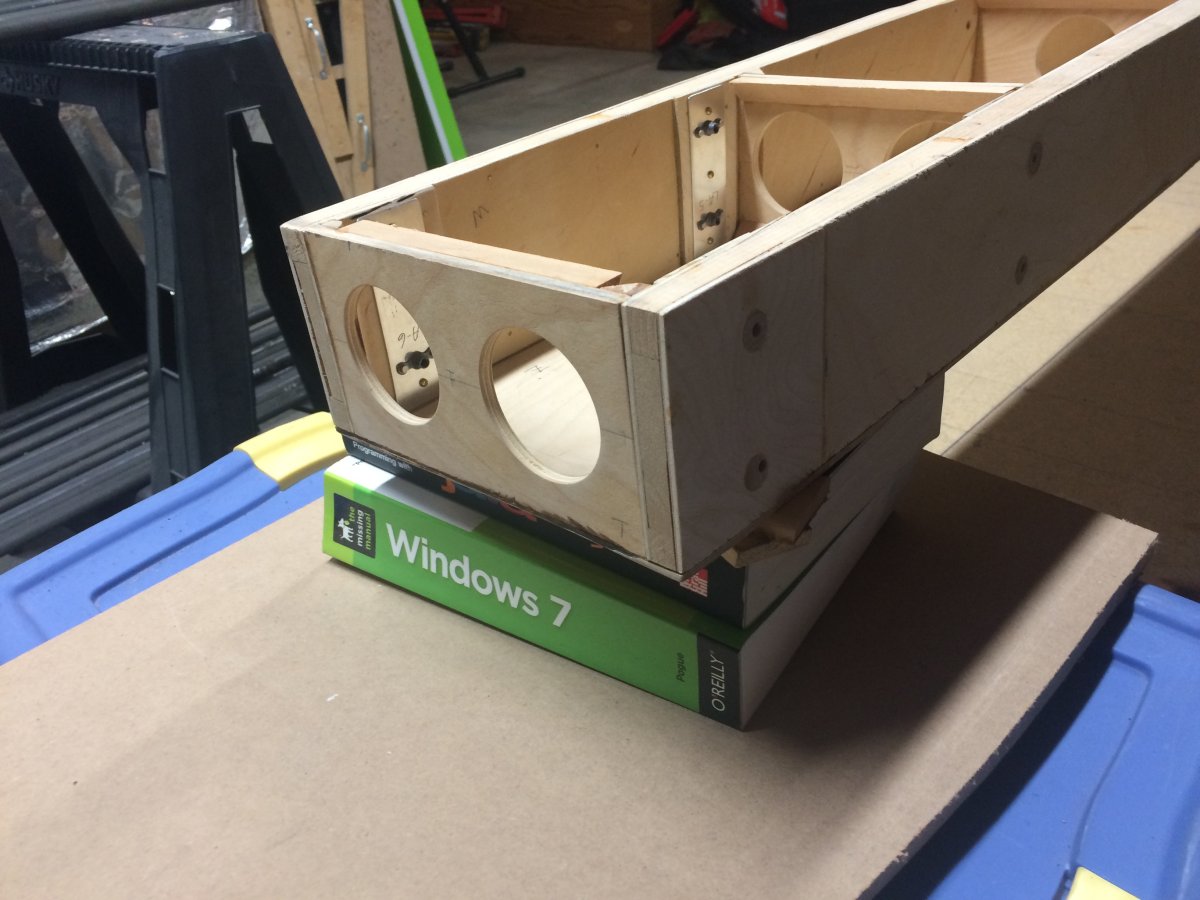
| Finally getting some use out of this computer book! On the right side you can see some wood shims, to get the two degree angle. |
 |
|
|
| And on the other side, shimns on the scaffolding to get the right angle. |
 |
|
|
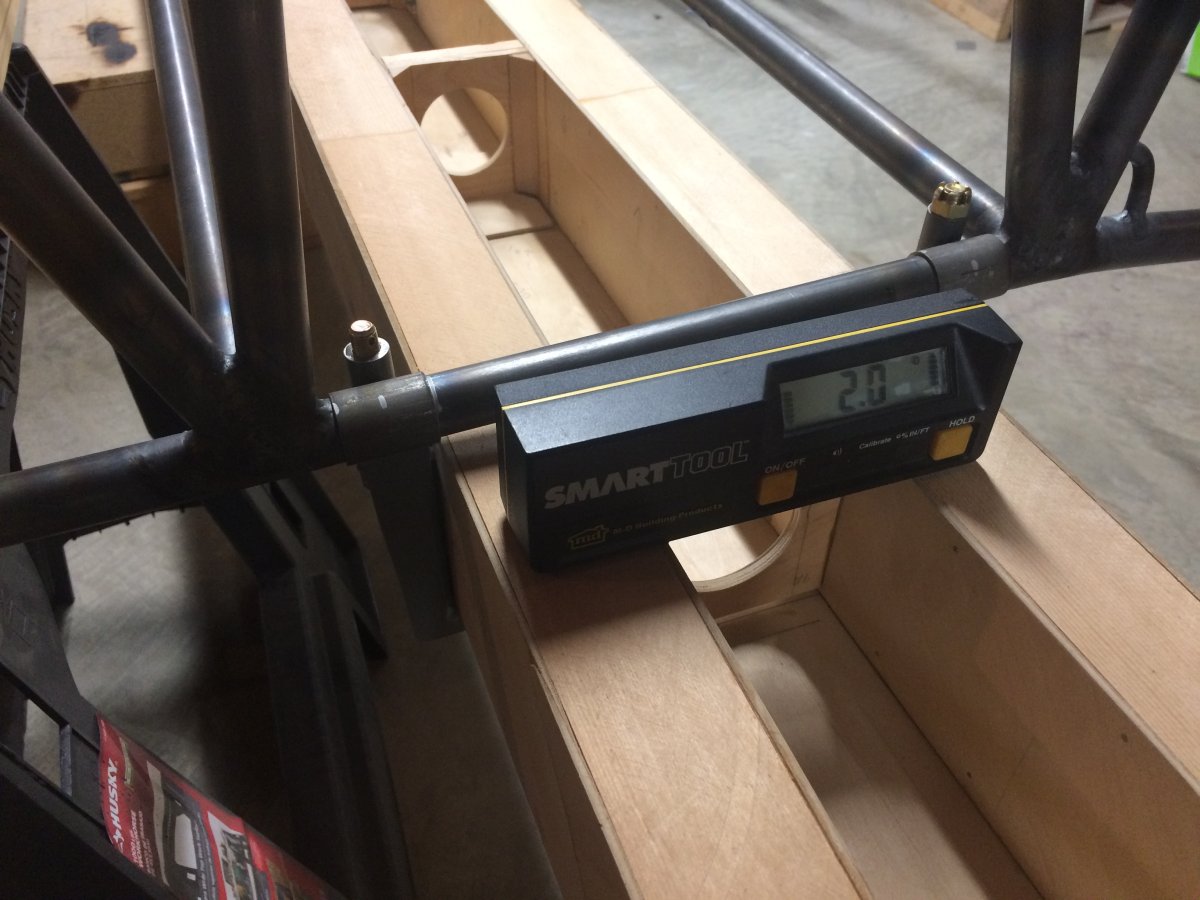
| Two degrees. Perfect. Love the Smart Tool digital level! It's one of the few tools that were useful in both the RV and Triplane projects. |
 |
|
|
| Tack-welding the bottom bushings. My "shielding" technique has improved so preparation didn't take long. |
 |
|
|
| Tack welding complete. |
 |
|
|
| P5 |
 |
|
|
| After final welding on one of the center bushings. |
 |
|
|
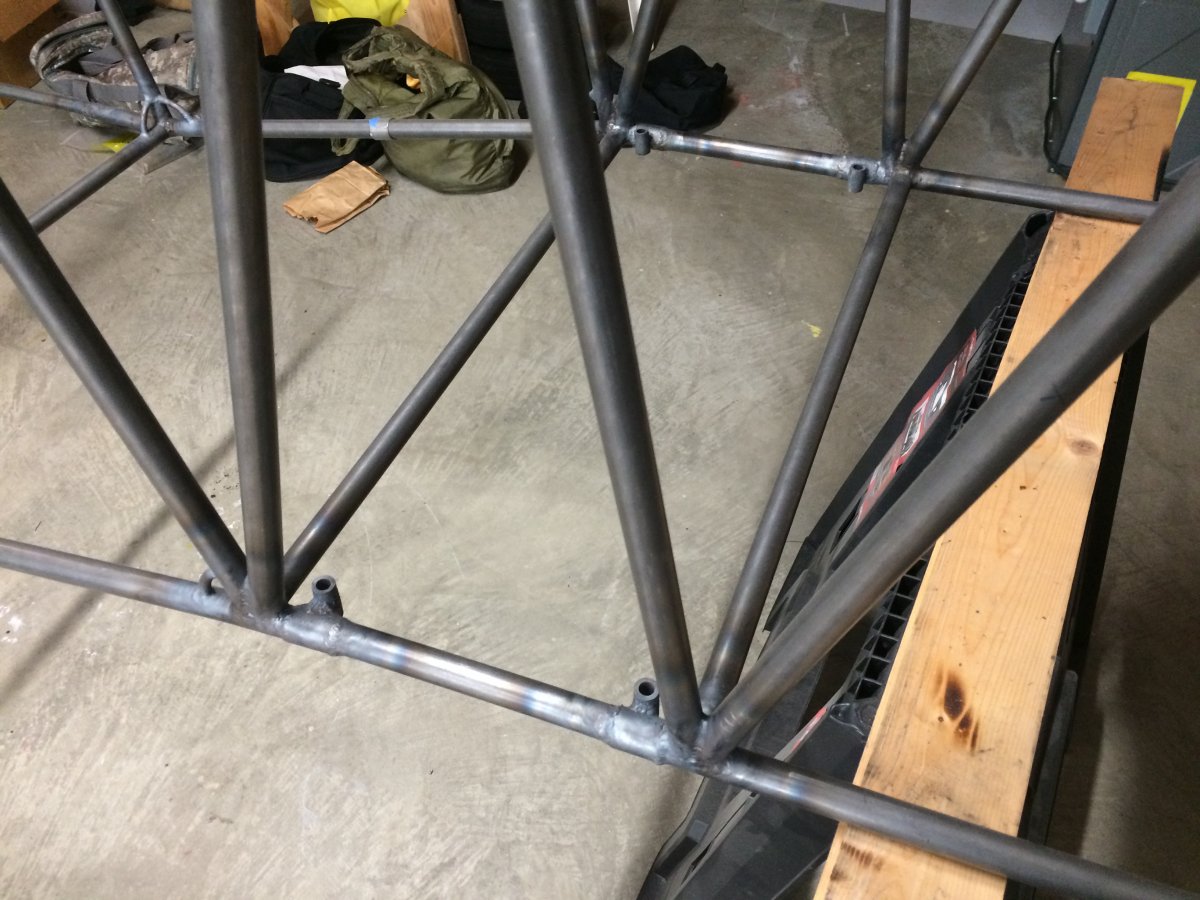
| Final welding on two of the bottom bushings. |
 |
|
|
| All four bottom bushings. |
 |
|
|
| |
| |
| |
|
|
|
|
|
|