March 10, 2016 - Fit and Tack Weld Aft Fuselage
|
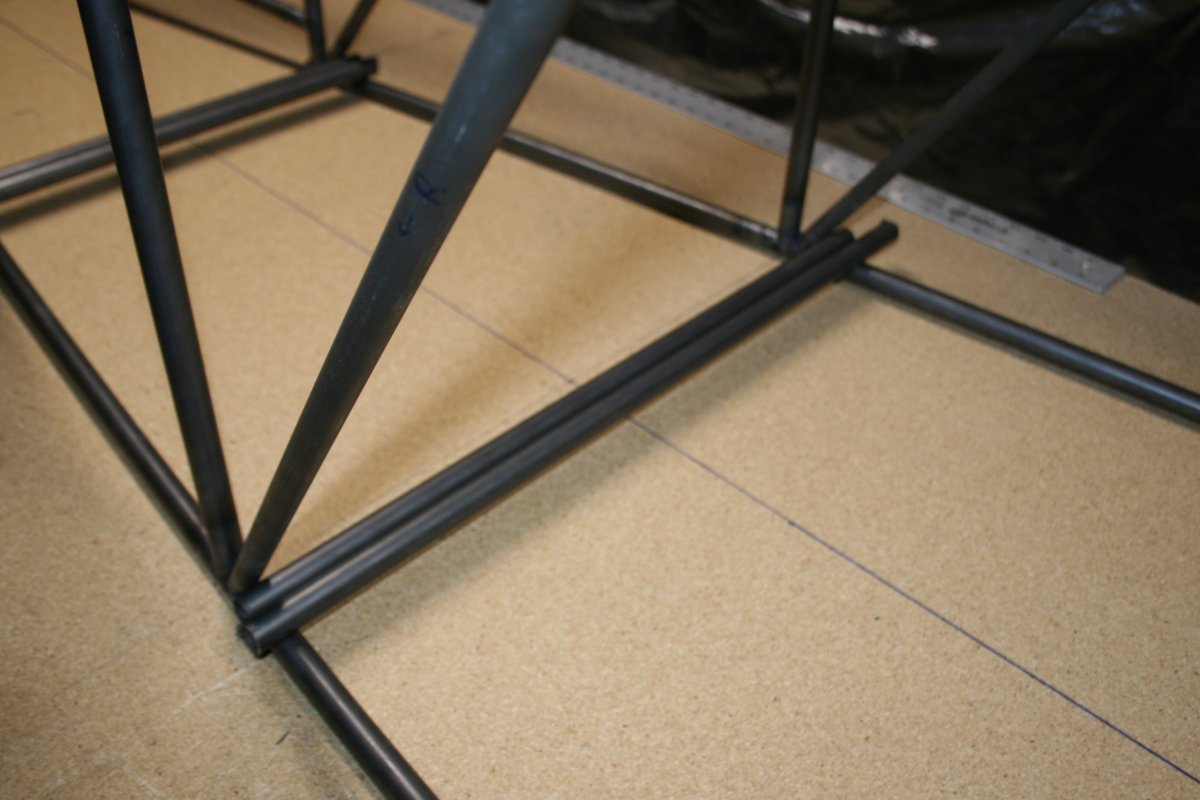
| With the forward end tack-welded, I was able to rotate the structure on its side. I immediately noticed that there was too much space between tubes in some of the joints, so I had to cut the tacks and adjust the fit, then re-tack. |
| |
 |
|
| The two sides ultimately come together at the tail end and I had really worried a lot about how I was going to do that. |
| |
 |
|
| It turns out that I was able to pull the two sides together with hardly any effort at all! I was amazed at how easily the steel tubing bent. |
| |
 |
|
|
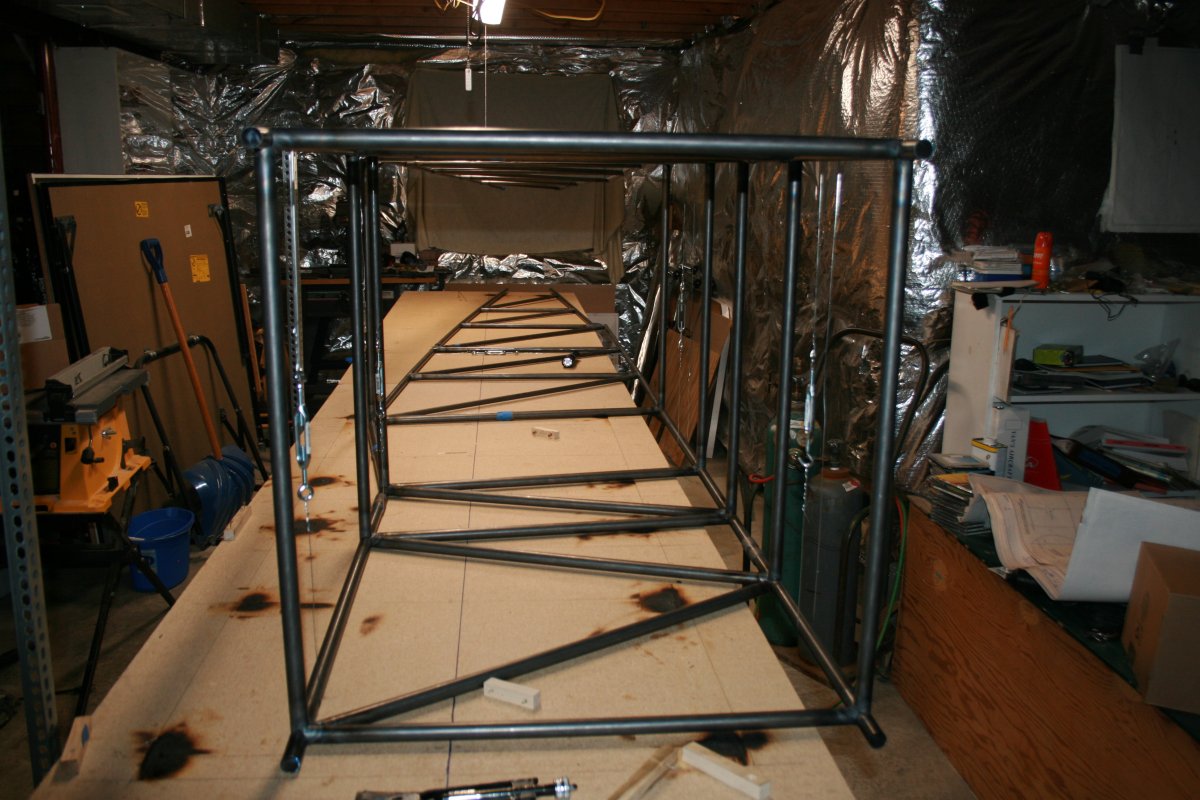
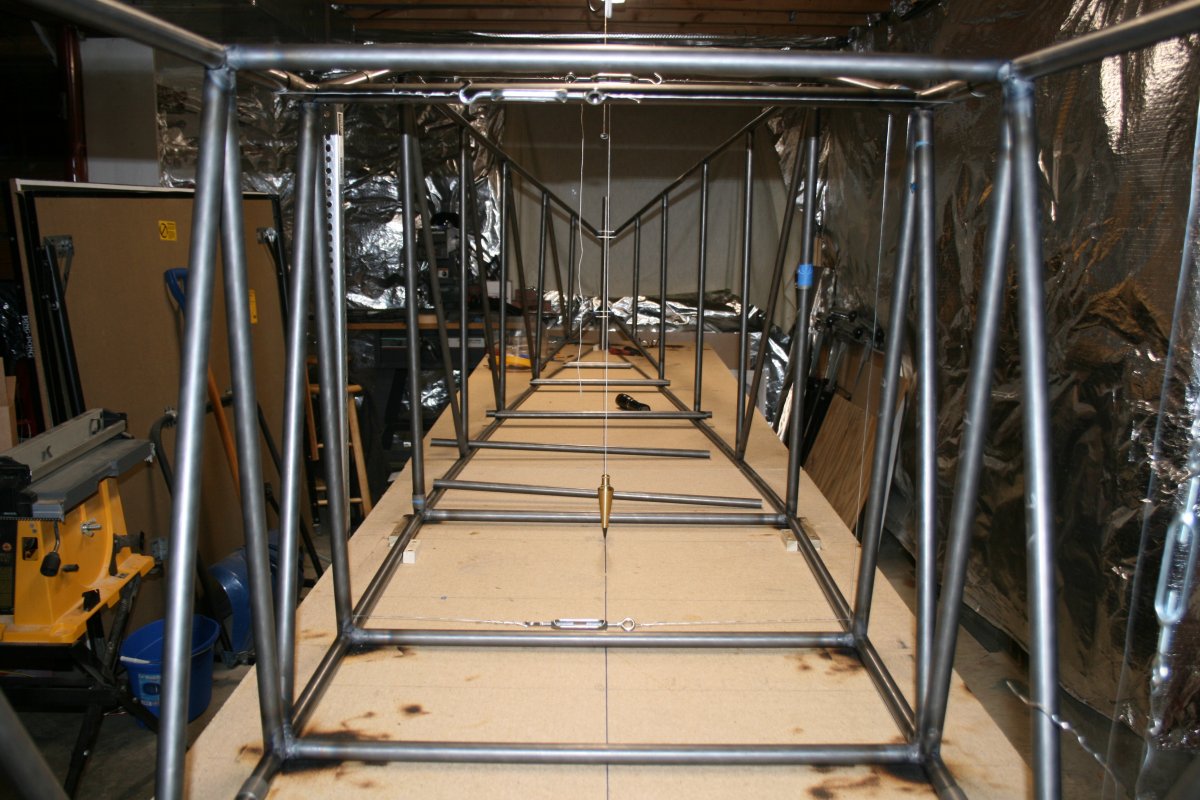
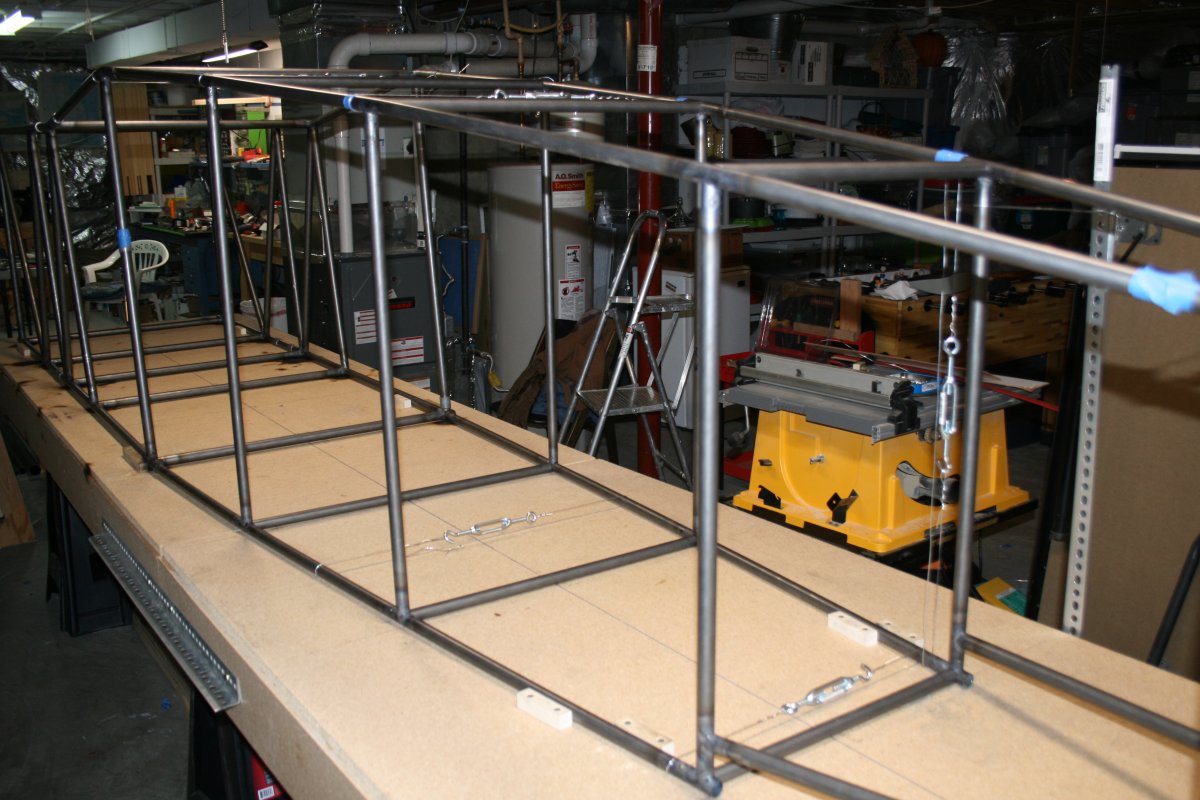
View from the front.
|
| |
 |
|
|
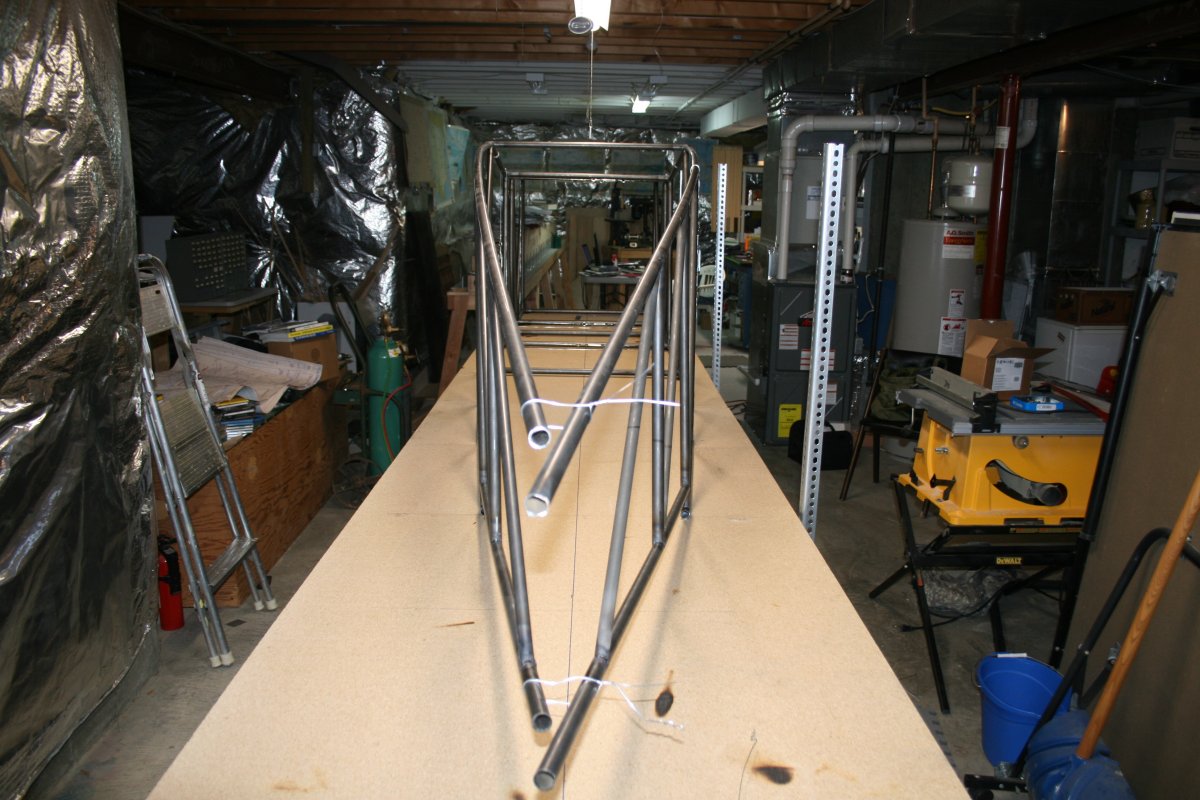
I used the Dremel tool to cut the longerons at the tail end.
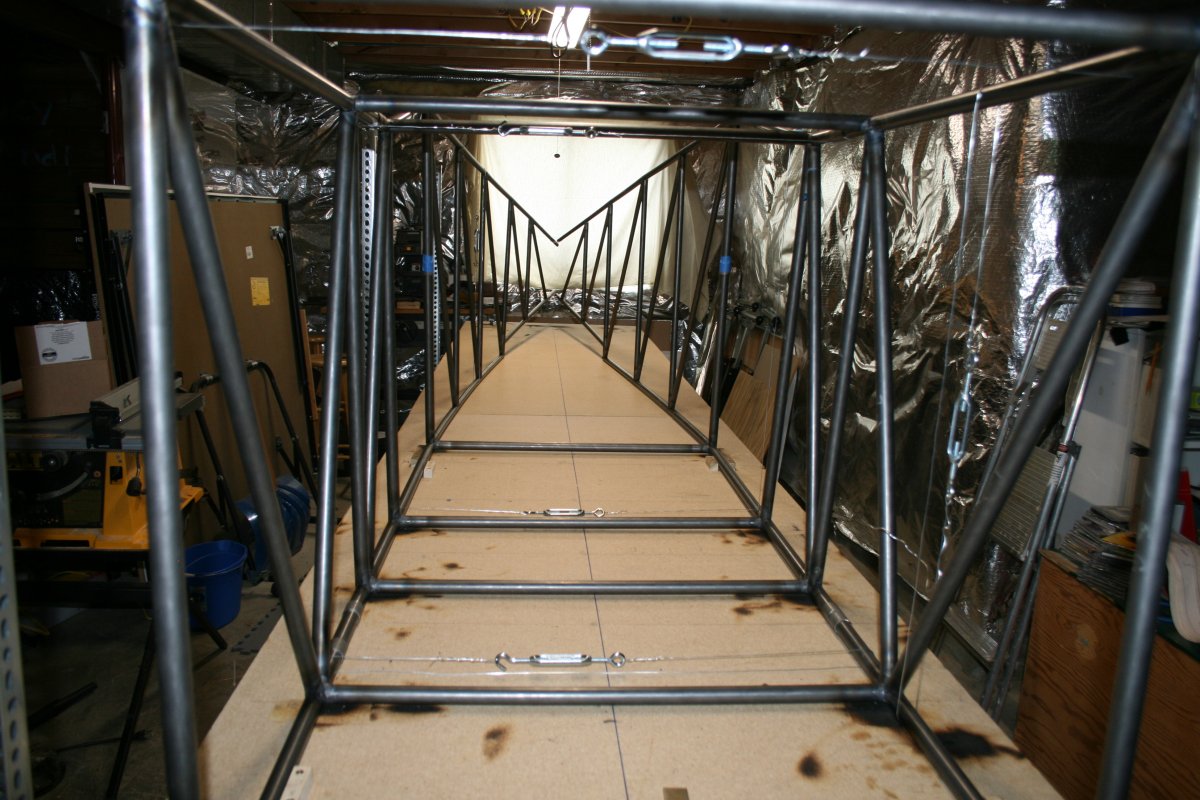
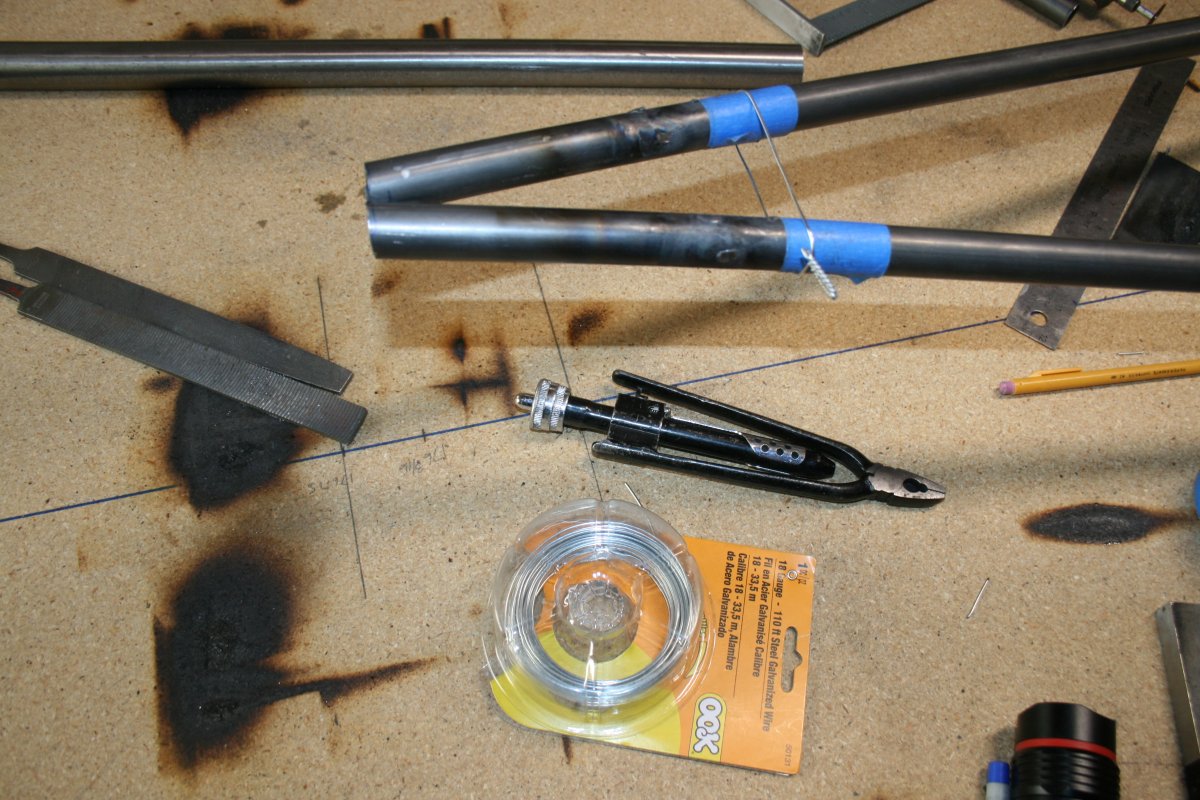
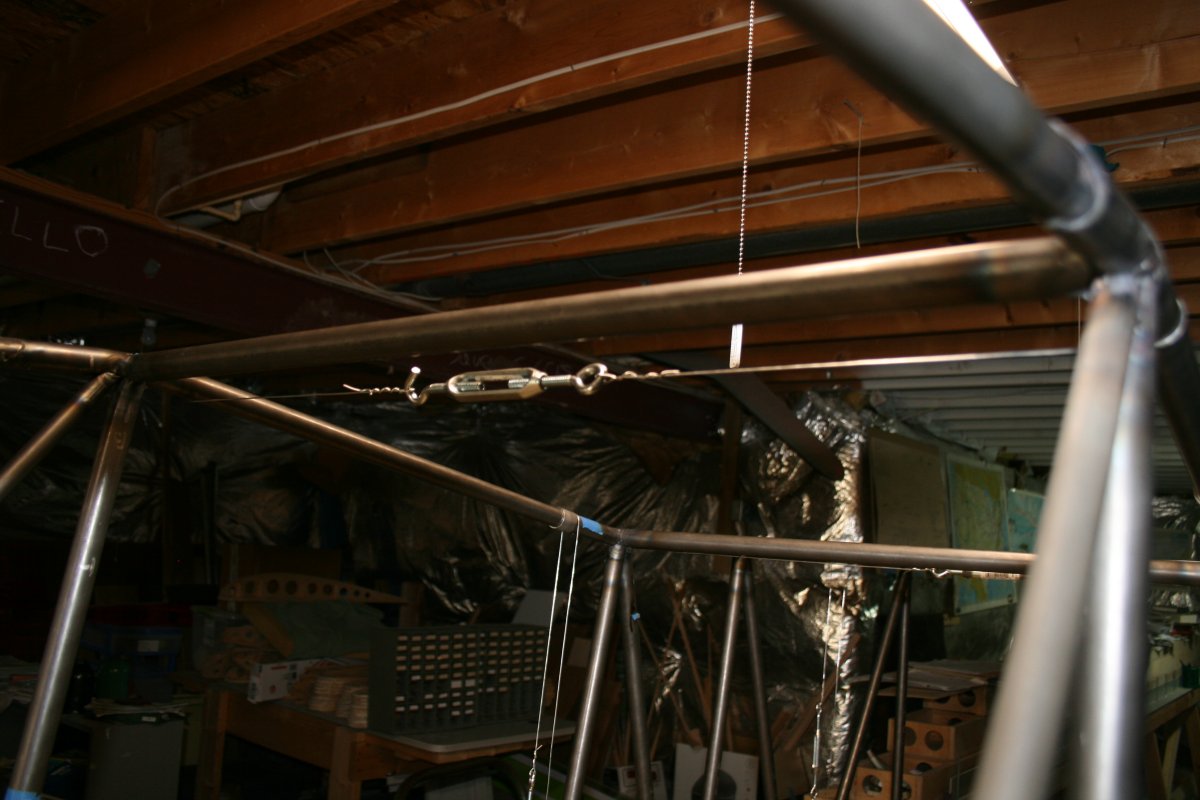
I've discovered that steel wire and turnbuckles are extremely useful things when building a steel tube fuselage.
|
| |
 |
|
|
A turnbuckle in action. Available at the aviation aisle in your local hardware store.
|
| |
 |
|
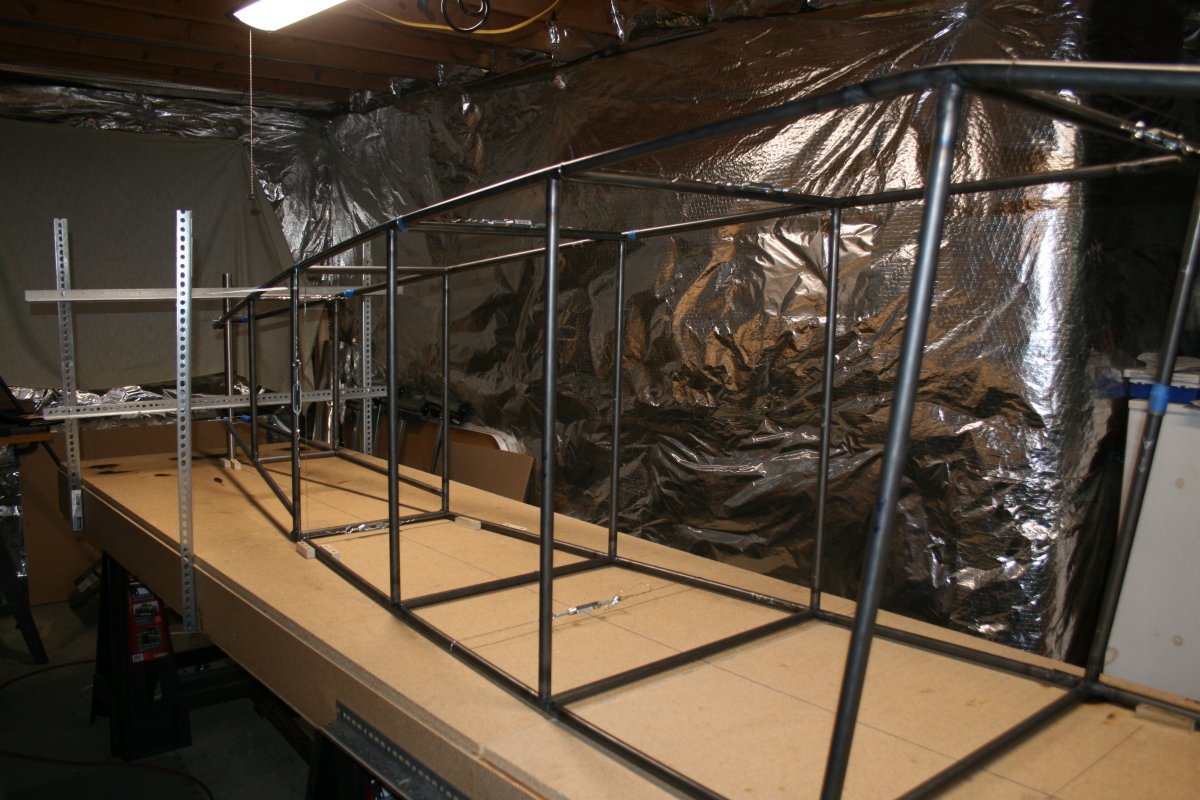
| It's important to have the tail straight and aligned. I used the 1 1/8" steel tube to do this. This is the steel tube that will actually be welded in later. |
| |
 |
|
| |
| |
 |
|
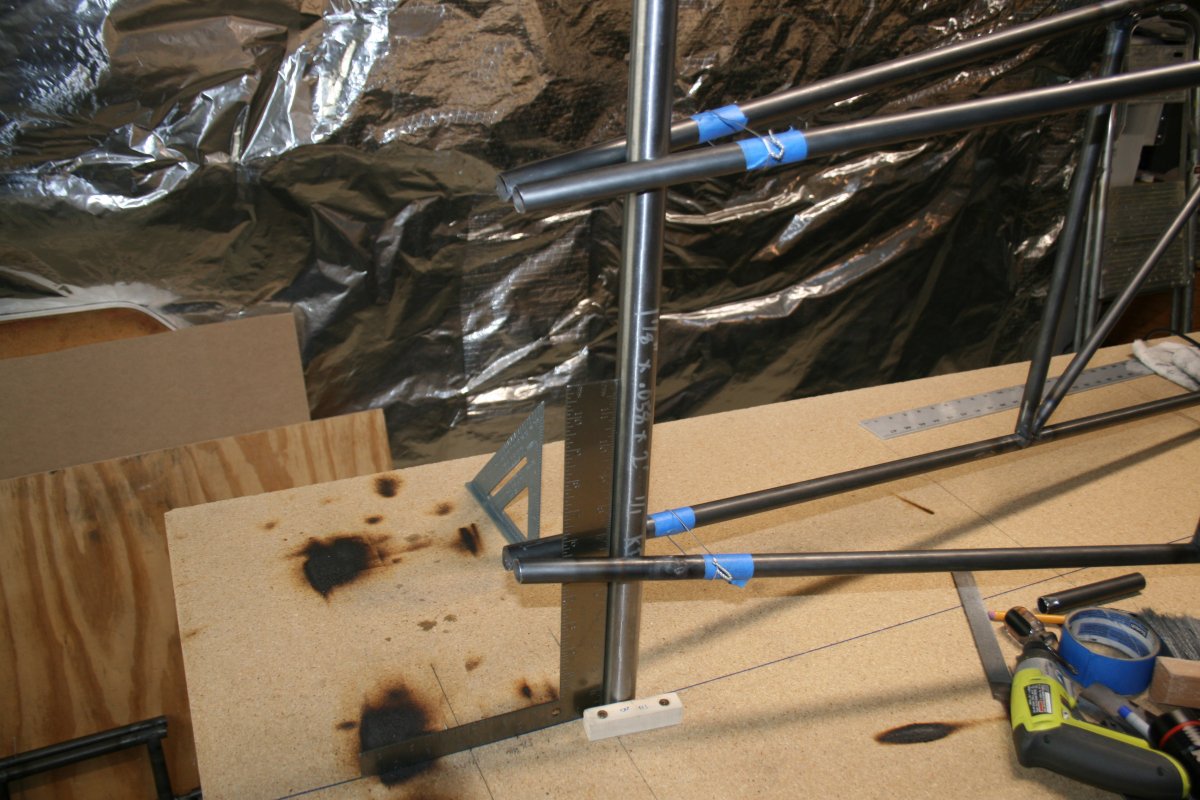
| I cut the aft cross-members tubes. |
| |
 |
|
|
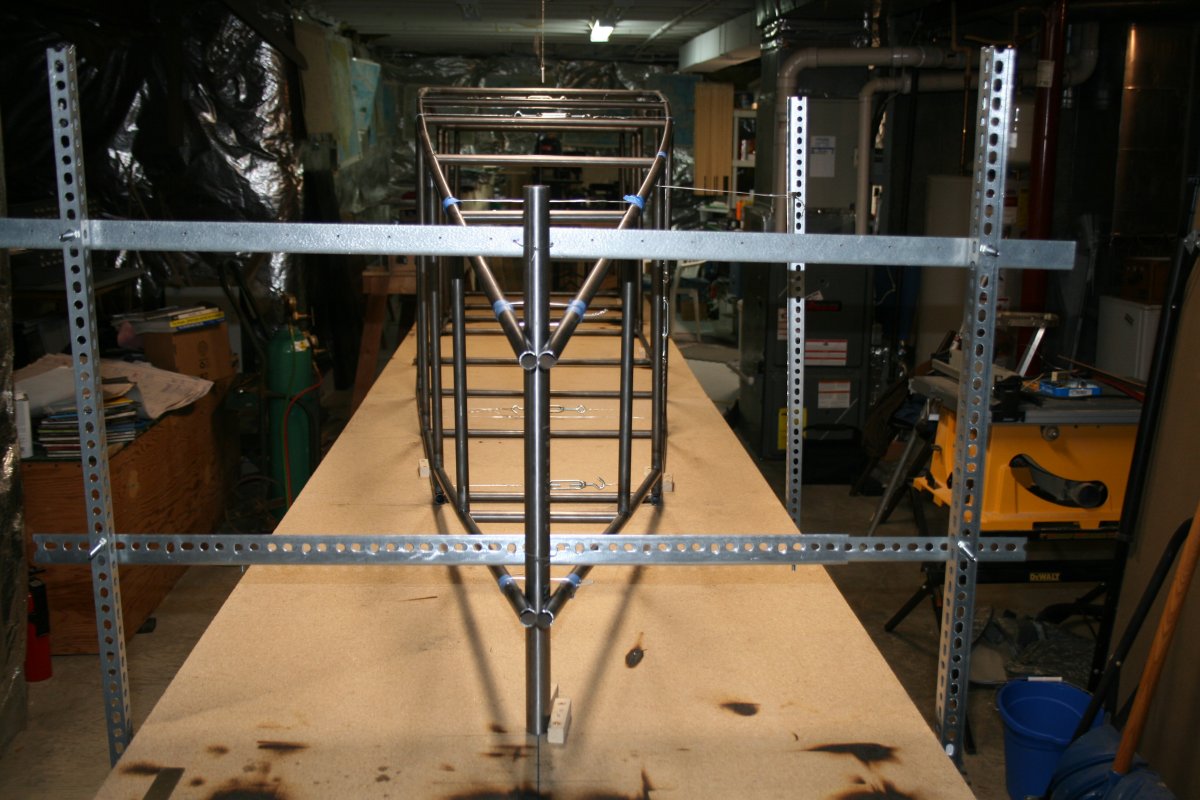
I hung a plumb-bob to make sure the fuselage is straight from nose to tail.
|
| |
 |
|
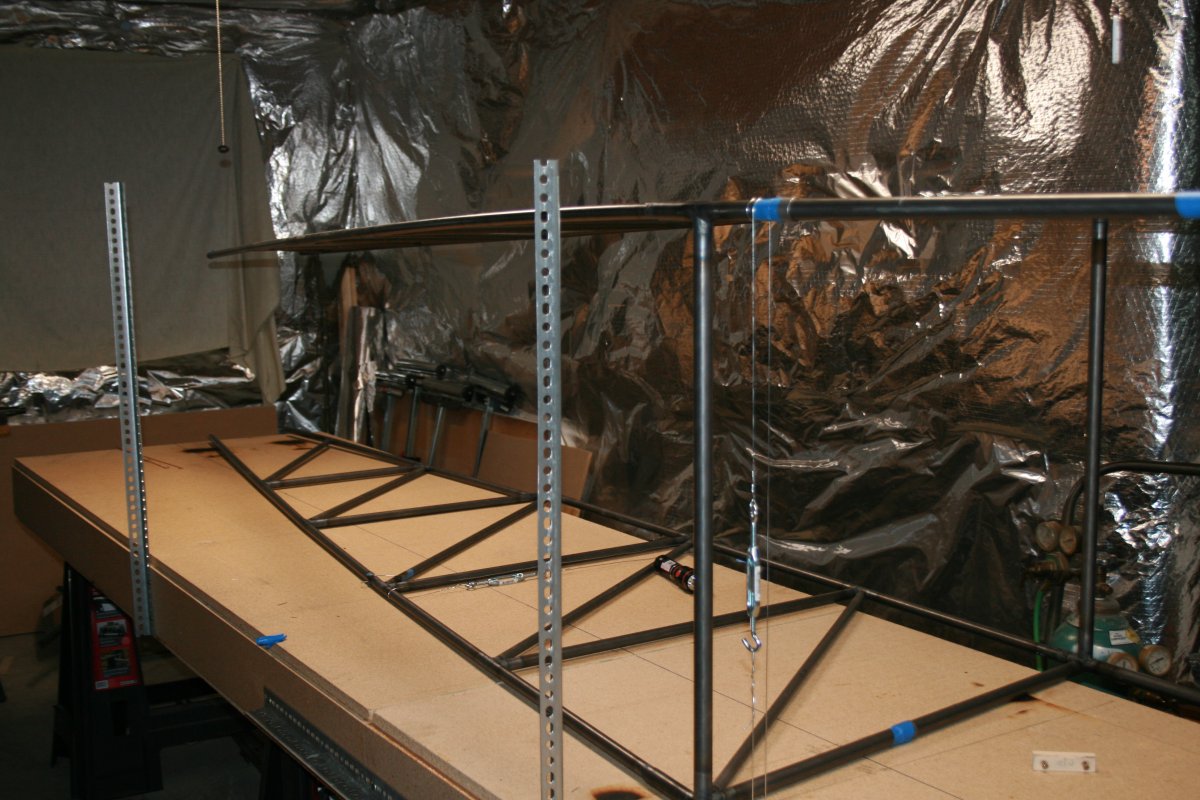
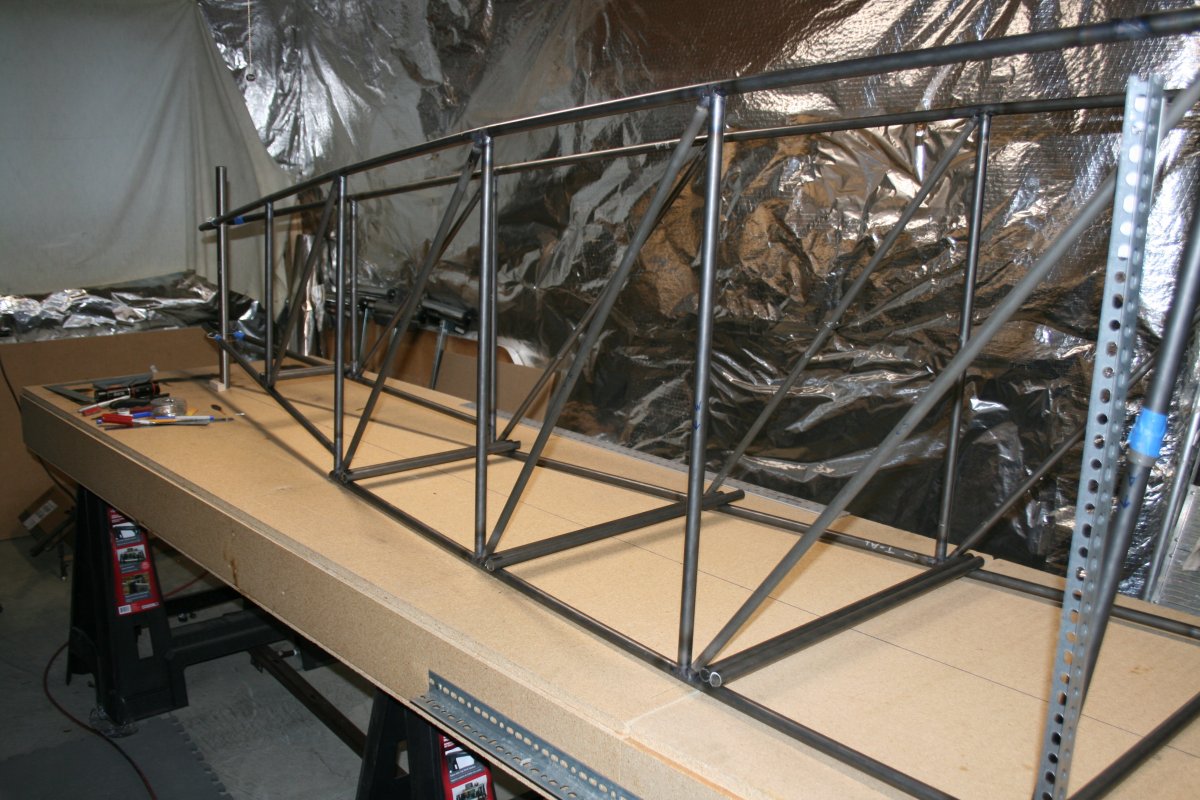
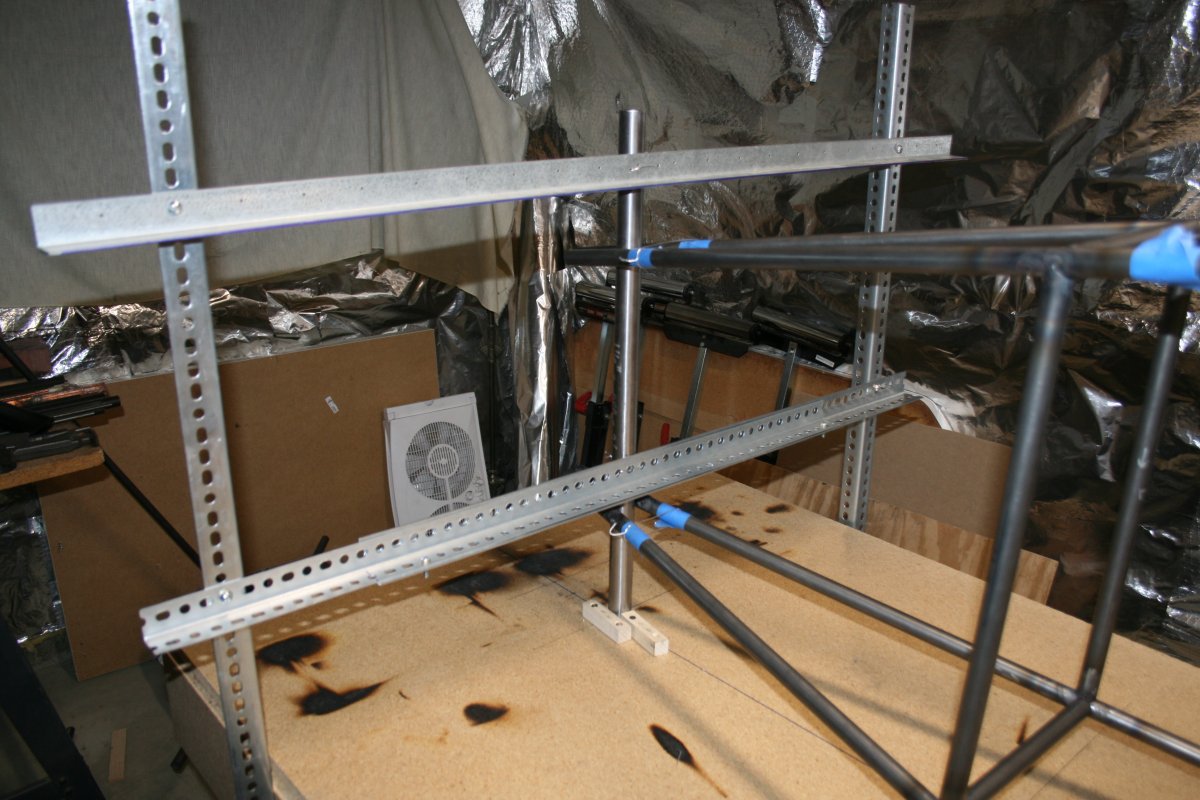
| To hold the tail area in the correct position, I built a jig out of perforated steel tubing. |
| |
 |
|
|
Doing so reminded me greatly of the Erector Set kit I had as a kid.
|
| |
 |
|
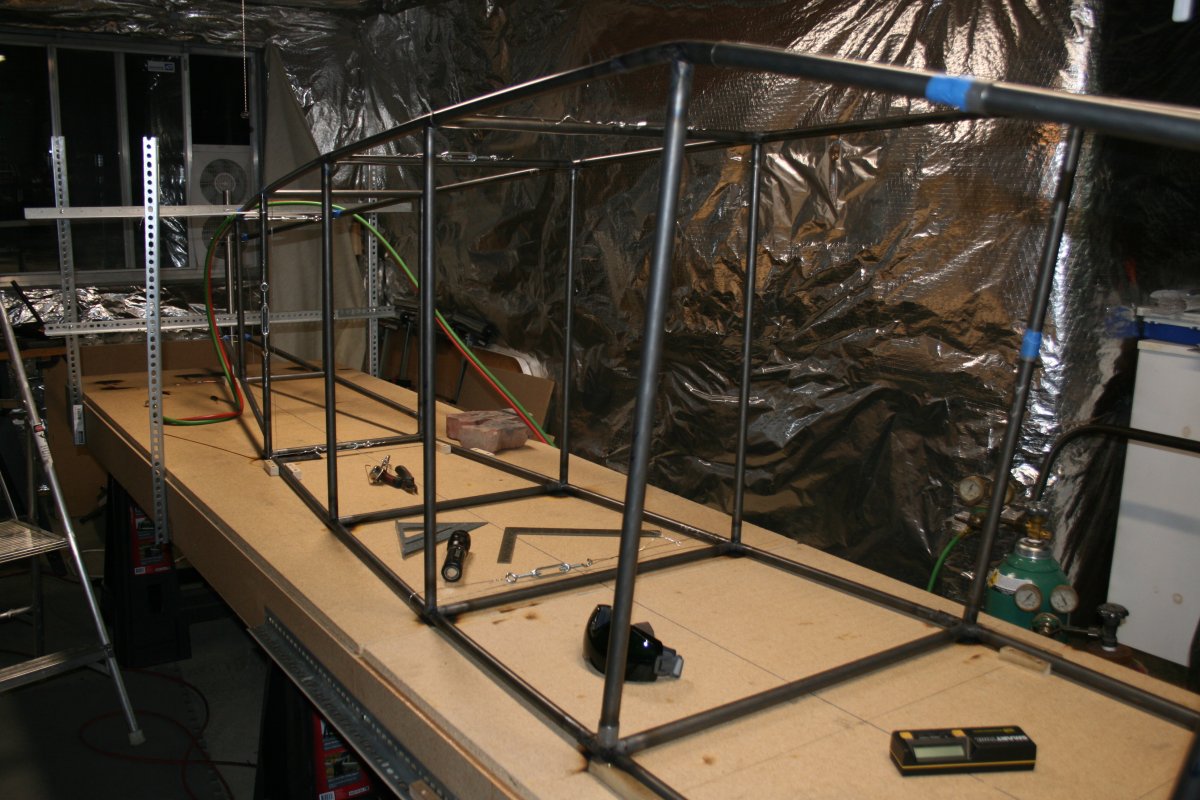
| A good look at the tail jig. |
| |
 |
|
| You may notice something is missing in this picture. Initially, I thought instead of using wire and turnbuckles for cross-bracing per the plans, I would use 5/8" tubing as some builders have done. The primary reason was cost, as the aviation-quality turnbuckles are expensive. So I tack-welded diagonal 5/8" tubing into my fuse sides. But I found notching the diagonals and getting a good fit was a nightmare, and the cross-member diagonals would be even worse. So I decided to go back to the wire and turnbuckles. It was easy to cut the tacks and remove the diagonals from the fuse sides. |
| |
 |
|
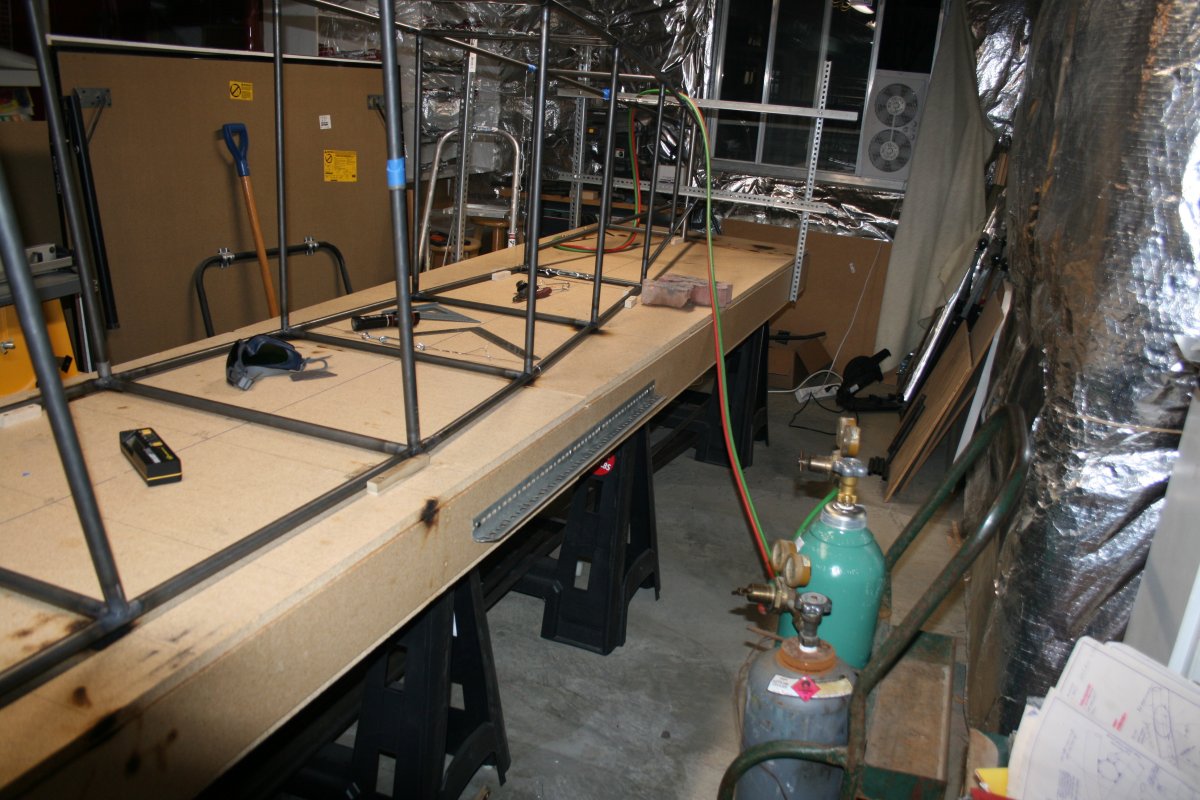
| Tack-welding the aft cross-members. |
| |
 |
|
| From another angle. |
| |
 |
|
| |
| |
|
|
|
|
|
|