December 5, 2007 - Starter Button, Low Voltage Warning Light
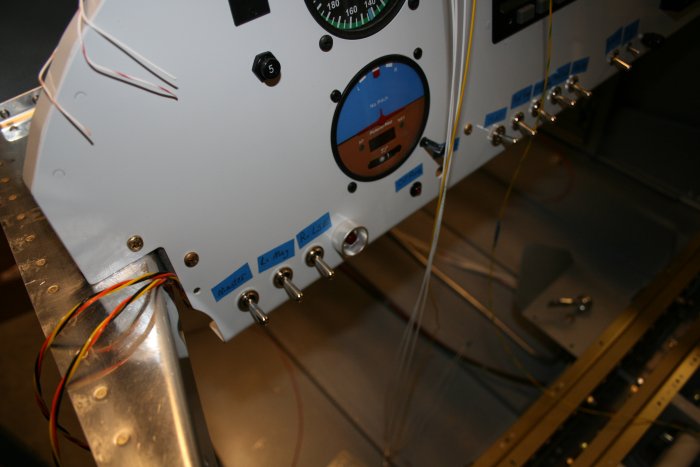
Althought the Starter button is in place as you can see below, I still needed to solder the wires to it.
I always liked the Citabria's starter button. I just liked turning flipping the Master, Left and Right Ignition switches up, then pushing the button to spin the prop. For the RV, I never even considered the key type starter switches.
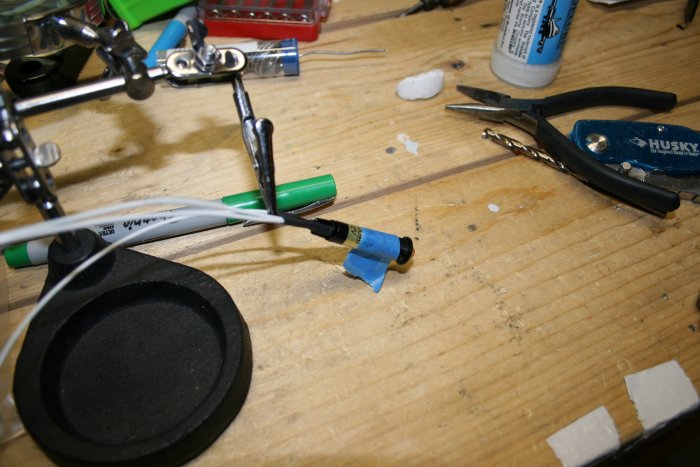
The starter button's backside after
soldering. Pretty simple. One wire to the Left Ignition switch
and one wire to the right. Per the Nuckolls Z-11
diagram.
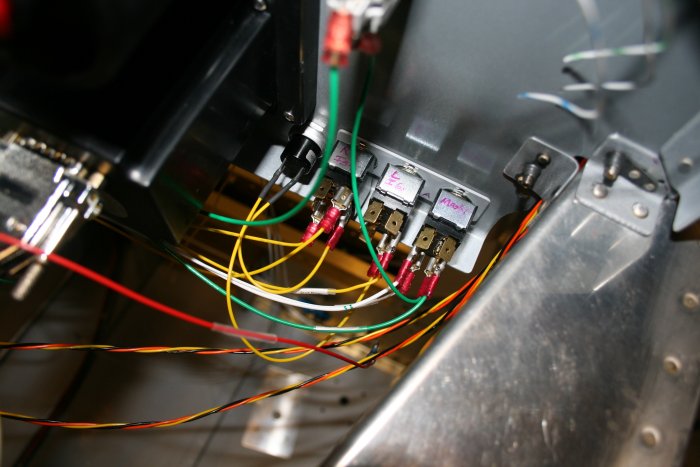
Next I soldered up the low voltage
warning light. Through trial and error, it became obvious to
me that soldering switches is best done
on the workbench. Just make the wires extra long so you can
route them to their destination. And label them right away so you
don't waste time trying to figure out what is what later on.
Doing the opposite -- connecting the wires to their
destination, then trying to solder them with the switch on the panel -- doesn't seem like a good
idea.
The low voltage warning light
has a wire running to the Main Bus, and two wires running to the
LP-3 voltage regulator. Again, per the Z-11 diagram. I'm not
an electrical guru but I'm reasonably competent at following directions!